Create a Sequence in Revenue Grid
To set up and launch a sequence in Revenue Grid, you need to:
-
Create a new sequence
First of all, you need to create a new sequence in Revenue Grid following the instructions provided below.
Tip
You can skip some of the parameters while creating a sequence. Later, you can configure or change them in the Settings of the sequence
Create a new Sequence
To create a new Sequence:
- Go to Sequences page in the left-hand side navigational bar.
- Click
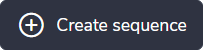 button in the upper right-hand corner of the page.
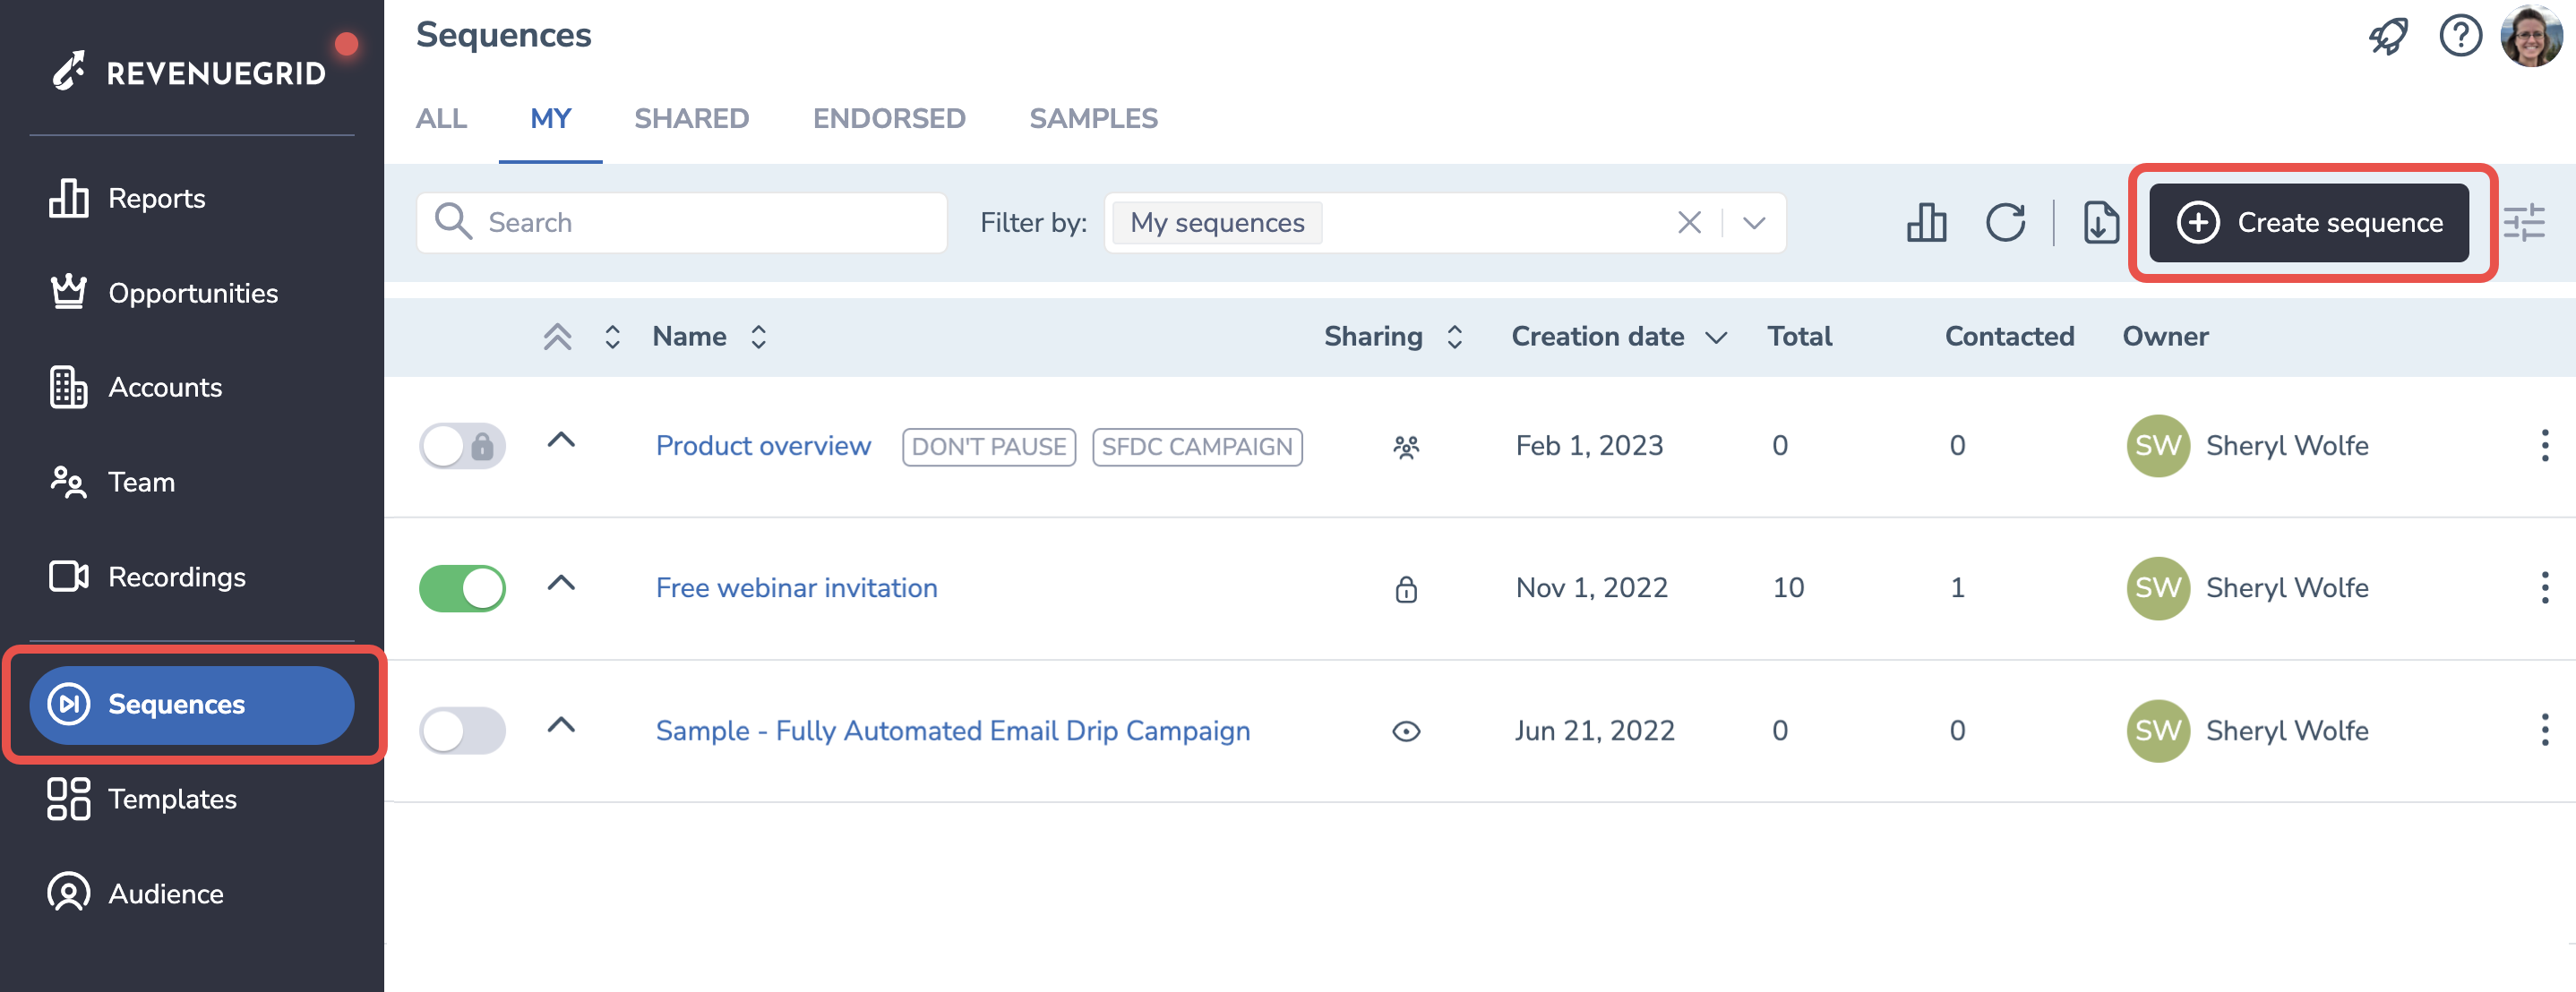
- Fill out the form as described in the General and Advanced settings sections.
- Click
 to finish creating your sequence.
General settings
Name your sequence
Set the name for your sequence.
Set up Priority for the sequence
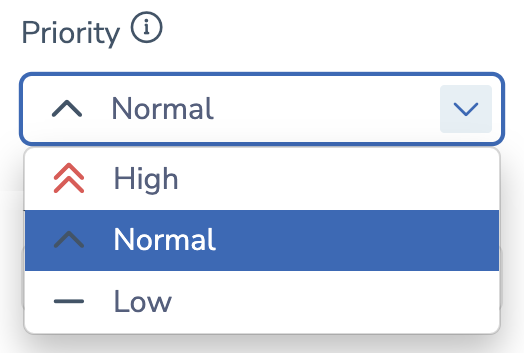
•  High: Sequence steps will be scheduled for the earliest possible time.
•  Normal: Sequence steps will be scheduled in the usual order after high-priority ones.
•  Low: Sequence steps will be scheduled after normal and high-priority ones.
Configure sequence Sharing
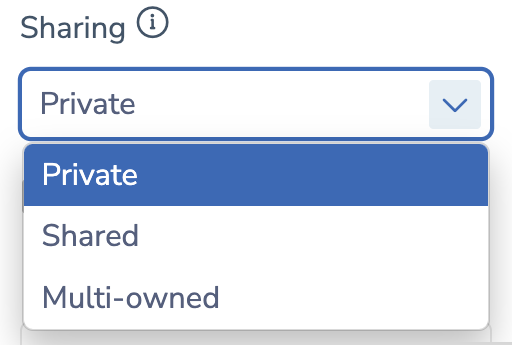
• Private: the sequence will be visible only to you (sequence owner). Only sequence owner and admins can modify this sequence and add prospects to it.
• Shared: visible (read-only) to everyone in your company. Your colleagues can view Steps, Statistics, Settings of the Sequence.
• Multi-owned: only admins can create and modify multi-owned sequences, but everyone in the company can add prospects to this sequence. Admins can assign different senders for every single step. In this way, it will seem that a group of people from your company reaches out to a prospect. All owners of all steps are added to CC recipients of every step, so the prospect sees all senders every time the sequence email is received.
Note
Admin level users always have full access to all Sequences. More about access rights here
Make this sequence endorsed
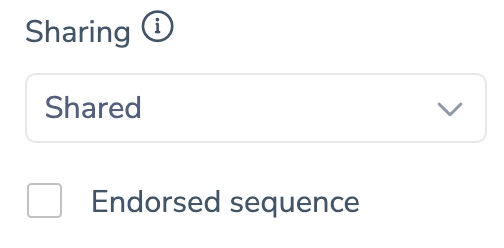
Admins can make a sequence endorsed. Learn more about endorsed sequences…
Add tags
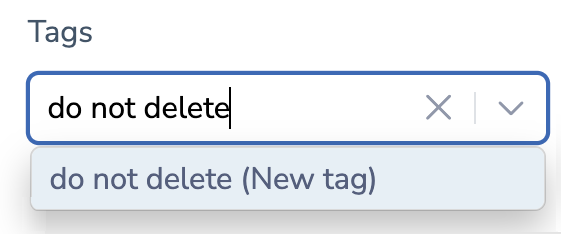 Add tags to your sequence for easier sequence classification and search. Select any of the existing tags from the drop-down list or type in a new tag in this field.
Sent on behalf of
Important
For Shared and Multi-owned sequences this setting is not editable. You can select yourself or your delegator (if any) only when creating a Private sequence. You cannot change this setting later after the sequence is created.
The emails will be sent out to recipients:
- from your email address as an owner of a Private sequence
- from email address of your delegator when you are a delegate and create a Private sequence. Read more about delegation here
- from email address of the user who has added the prospect in Salesforce when you choose Shared sequence
- from email address of the step owner if you select Multi-owned sequence
Send on behalf of the sequence owner
- all emails will be sent from your mailbox with your signature and unsubscribe text
- all related to-do items will appear in your Action Center page
- all prospects’ replies/auto-replies will appear in your mailbox
Send on behalf of the prospect owner
- all emails will be sent out from prospect’s owner (listed in Salesforce) mailbox with the owner’s signature and unsubscribe text
- all related to-do items will appear in the prospect owner’s Action Center
- all prospects’ replies/auto-replies will appear in prospect owner’s mailbox
In case if an ownership changes in Salesforce, a new to-do item labeled as Owner change will appear on prospect’s previous owner’s To-do tab in the Action Center.
Send on behalf of the step owner
- all emails will be sent out from step owner’s mailbox with their signature and unsubscribe text
- all related to-do items will appear in the step owner’s Action Center
- all prospects’ replies/auto-replies will appear in step owner’s mailbox
Auto-add unsubscribe text
 Also, you can automatically add unsubscribe text at the end of every sequence email.
Note that this checkbox may not be editable if your admin has forbidden users to change auto-inserting settings for unsubscribe text.
Advanced settings
Select a schedule

In this field, you can select a schedule for sending out your sequence’s steps. Schedule defines a time frame within which you want your outreaches to get sent out. You can create custom schedules to fit into any imaginable timing.
Note
Automated sequence steps are sent out according to the configured schedule. However, the actual send time may vary due to message volume and system-wide sending limits. For details, see How automated sequence step sending works.
Tip
By default, sequence steps are sent out according to the sequence schedule. However, you can set a different schedule for specific steps if necessary. Be aware that if you add idle to steps sending, the idle is calculated according to the schedule. That is if your sequence steps are sent only on Mondays and you have set a 3-day idle for a step, this step will be sent out on the fourth Monday after the previous step.
Select default time zone and country code
 In Default country code, specify the country whose calendar will be used for executing the steps for recipients who have no country specified in Salesforce. It is used to prevent sending out sequence steps on country holidays.
 In Default time zone, specify the time zone which will be used for executing the steps for recipients who have no time zone specified in Salesforce.
The default country code and time zone are auto-prefilled based on the values in Personal settings > Sequences > General. If you need to apply the country code and time zone that are different from the default ones only for a specific sequence, you can change them here on the sequence level.
The default country code and time zone apply only to prospects without any country or time zone specified (e.g., no address in Salesforce). For prospects with specified country and time zone, the sequences will be sent according to their country calendar and time zone.
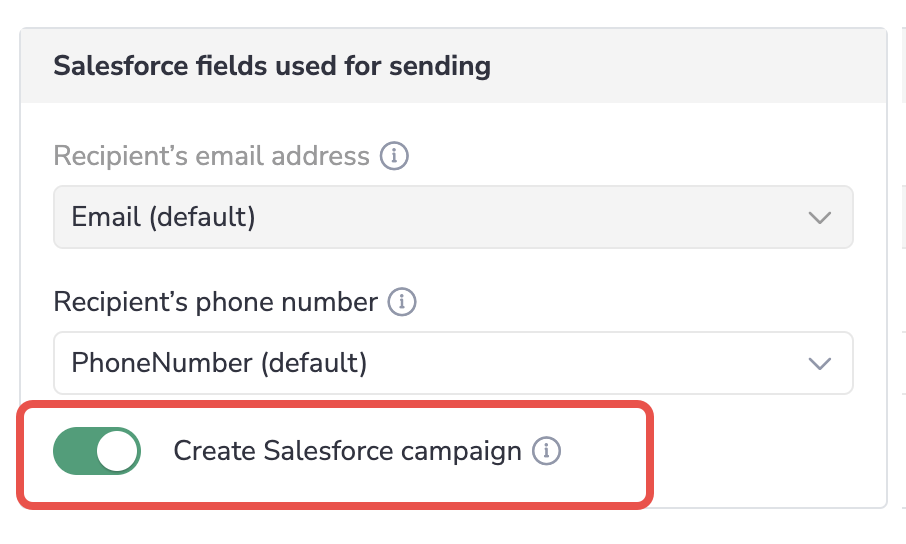
Select prospect’s email address and phone number to be used
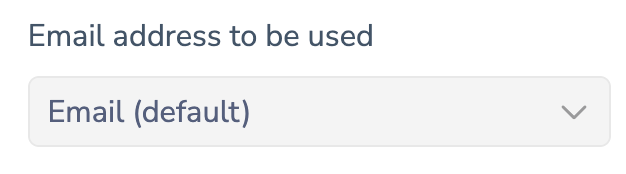 In the Email address to be used field, specify the Salesforce field on Lead/Contact records that will be used for sending the emails to prospects.
If there are any Salesforce fields with email value, you will see them in the drop-down list. If there are no other such fields besides the primary email field, the Email address to be used field will be not editable.
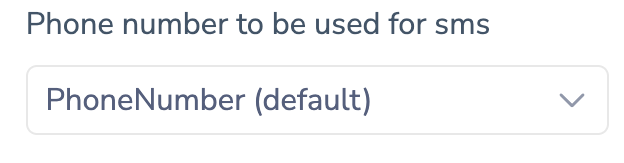 In the Phone number to be used field, specify the Salesforce field on Lead/Contact records that will be used for SMS and Call types of steps.
If there are any Salesforce fields with phone number value, you will see them in the drop-down list. If there are no other such fields besides the primary phone number field, the Phone number to be used field will be not editable.
Read more about how to set up SMS sending.
Create a linked Salesforce campaign
When you enable the Create Salesforce campaign switch, a Campaign linked to this sequence is created in Salesforce.
When this setting is enabled for a sequence:
-
The prospects get down-synced from Salesforce into Revenue Grid. You can only add prospects to the Salesforce campaign. Adding recipients in Revenue Grid becomes unavailable.
-
Some sequence statistics get up-synced from Revenue Grid to Salesforce.