Install the Add-In from an XML Manifest File


This article contains detailed instructions to help the users and local Administrators to install the RG Email Sidebar Outlook Add-In Web (Cloud) implementation from a Manifest file (.xml).
Also see this Microsoft guide on MS Outlook Add-Ins installation.
This solution installation scenario can be used specifically for customized implementations of RG Email Sidebar that include a special set of features and preferences, for example delegated access components accessed via RG Email Sidebar.
Tip
Refer to this article for a summary of various RG Email Sidebar mass deployment scenarios.
Installing the RG Email Sidebar Add-In in Microsoft 365
To install the RG Email Sidebar Add-In:
-
Go to the Add-Ins management dialog in Microsoft 365 Outlook by opening this Microsoft 365 URL directly in your browser:
-
If needed, log in with your mail account via the standard Microsoft 365 Sign in dialog.
-
After you log in, the Add-Ins for Outlook dialog will be opened. In this dialog, open the tab My add-ins.

-
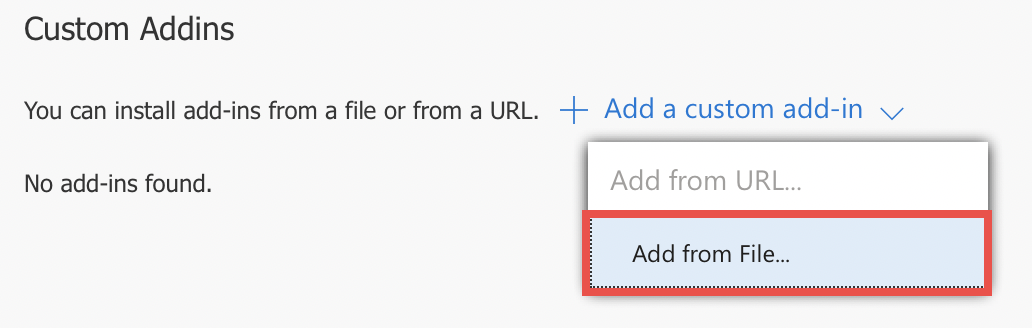
Next, scroll down the tab and click the button + Add a custom add-in.

-
Select Add from File….
-
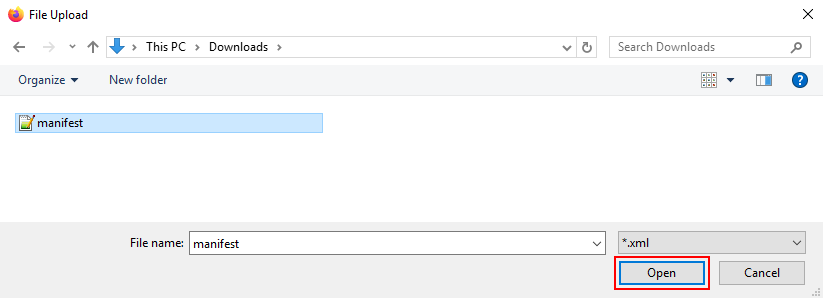
In the Explorer window, navigate to the .xml manifest file provided by Revenue Grid support team and click Open and then Next.
-
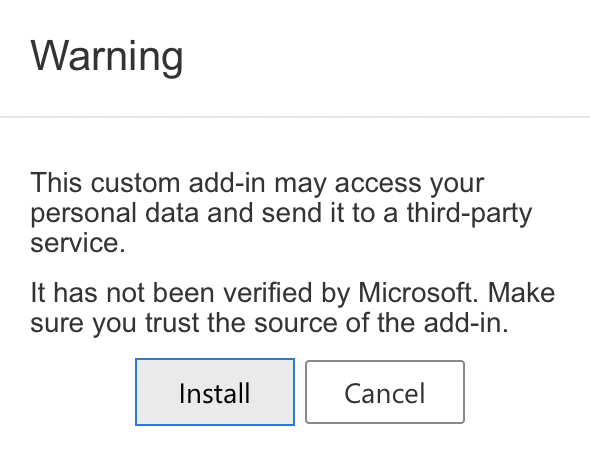
In the next dialog, click Install. The RG Email Sidebar Add-In will appear in the ribbon.
-
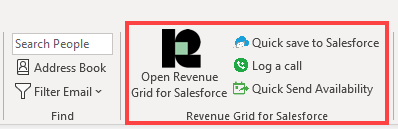
To verify that the RG Email Sidebar Add-In was installed successfully, check that the new Salesforce ribbon group has appeared in MS Outlook ribbon.
Installing the RG Email Sidebar Add-In for MS Exchange on Premise
To install the RG Email Sidebar Add-In in MS Exchange on Premise:
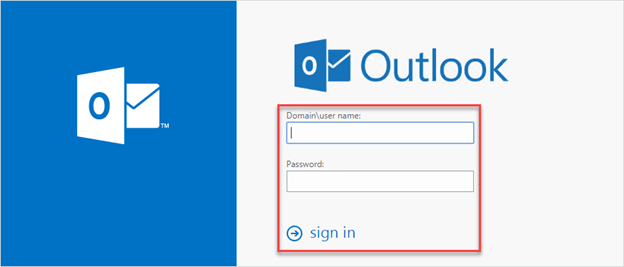
- Open your corporate Outlook on the Web page URL in your browser. If you do not have the URL, you can contact your local MS Exchange Administrator to get it.
-
Enter your login (the domain/user name) and password into the designated fields on the page and click Sign in.
-
If your username and password are correct, the Mail page (the Inbox by the default) opens.
-
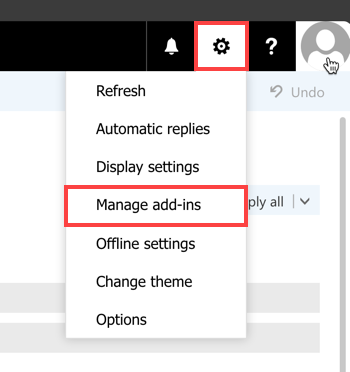
Click the Menu icon and select Manage add-ins in the upper right corner of the window.
-
Click the + (Add) button and then choose the source you want to install the Add-In from.

-
Add from AppSource (option 1):
- Select the Add from Office Store option.
- On the AppSource page that opens, search for RG Email Sidebar for Salesforce.
- Click Install.
Note
This option is only for the standard RG Email Sidebar solution. If your admin provided you with a custom .XML file for installation, follow the steps provided in the next section below.
-
Add from a file (option 2):
- Select the Add from a file option.
- Click Browse.
-
In the Explorer window, navigate to the .xml manifest file provided by Revenue Grid support team and click Open and then Next.
-
On the final step, click Install.
Now the RG Email Sidebar Add-In will appear in the ribbon.
-
-
To verify that the RG Email Sidebar Add-In was installed successfully, check that the new Salesforce ribbon group has appeared in MS Outlook ribbon.