Assign Quotas to Users in Salesforce
A forecast quota is the quarterly sales goal assigned to a sales team member. A manager’s quota equals the amount that the team is expected to generate together. The quota rollup is done manually by users and managers with the rights to amend quotas.
Salesforce forecast quotas assignment is an essential prerequisite for using forecasting and reporting features offered by Revenue Grid. This article describes how to assign quotas in Salesforce.
Important
To assign quotas to users, you must be logged in to Salesforce with Admin credentials.
Tip
You don’t need to assign any quota to a user on the manager position, because manager’s quota equals the amount that the team is expected to generate together.
To assign quotas to users in Salesforce:
-
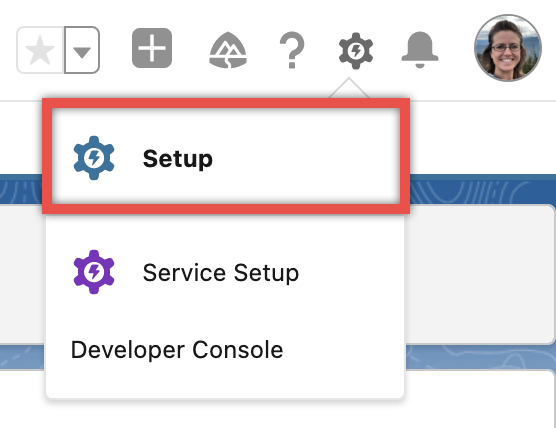
Click the gear (Setup menu) icon in the upper right corner of the page to open Salesforce Setup menu.
-
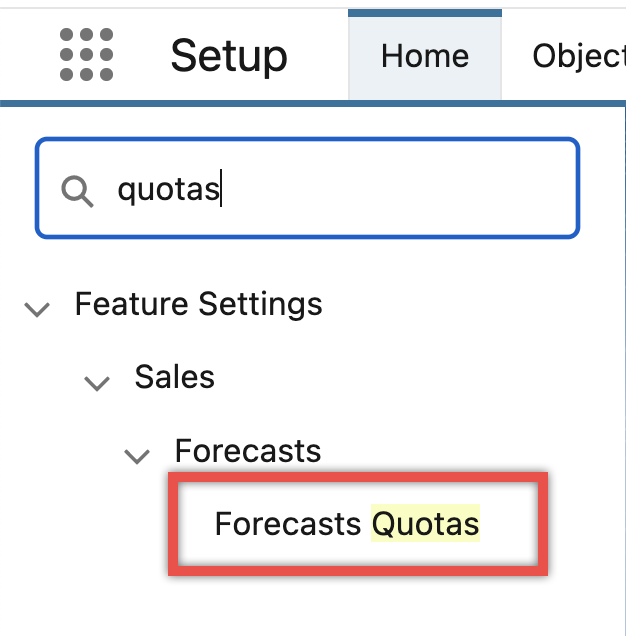
In the Quick Search field in the upper left corner of the window, type Quotas to quickly find the necessary setting.
-
Select Forecast Quotas.
-
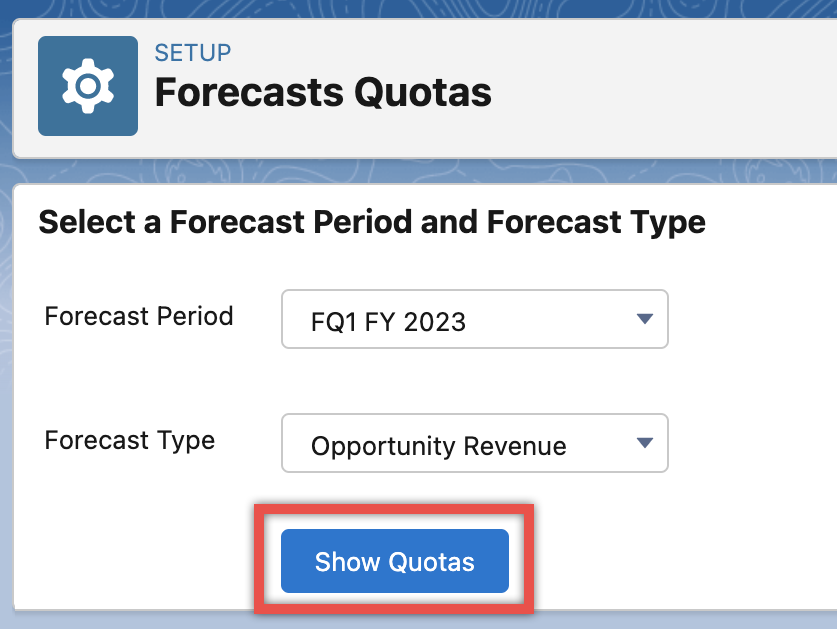
On the Forecast Quotas page, click Show Quotas.
Tip
The values for Forecast Period is prefilled with the current forecast period and Forecast Type is prefilled with an active forecast, for example, the automatically created forecast “Opportunity Revenue”. You can select any necessary Forecast Period and Forecast Type. Learn how to create new forecast types in this article.
-
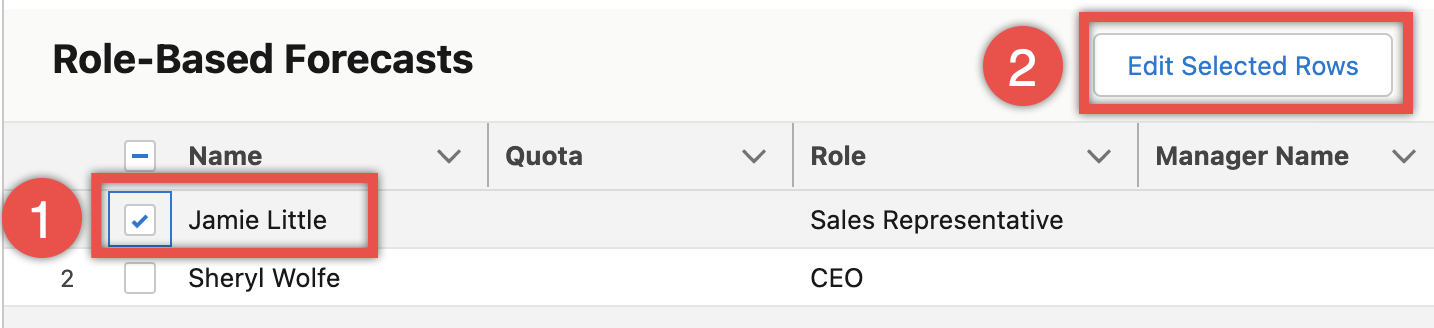
Select the checkbox next to the necessary user’s name (1) and click Edit Selected Rows (2).
-
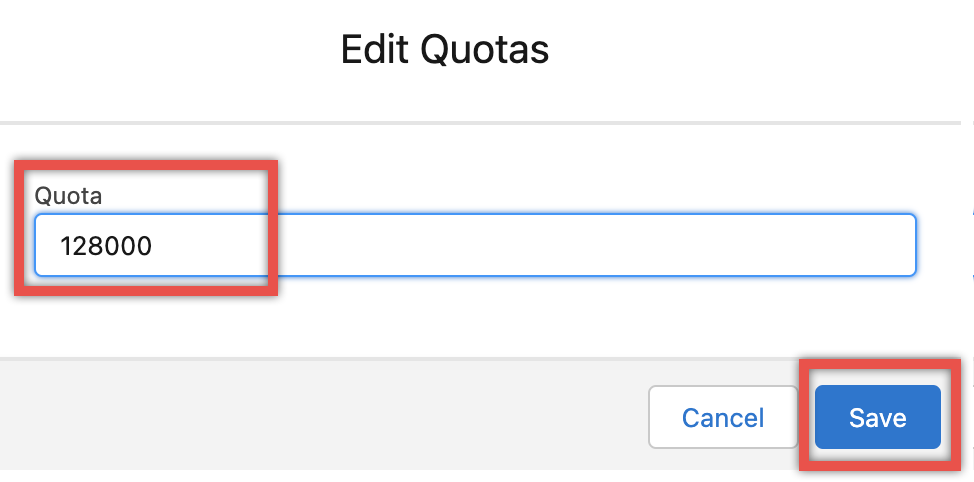
In the Edit Quotas pop-up dialog, enter the quota for this user in your company’s currency amount.
-
Click Save to apply the changes.
-
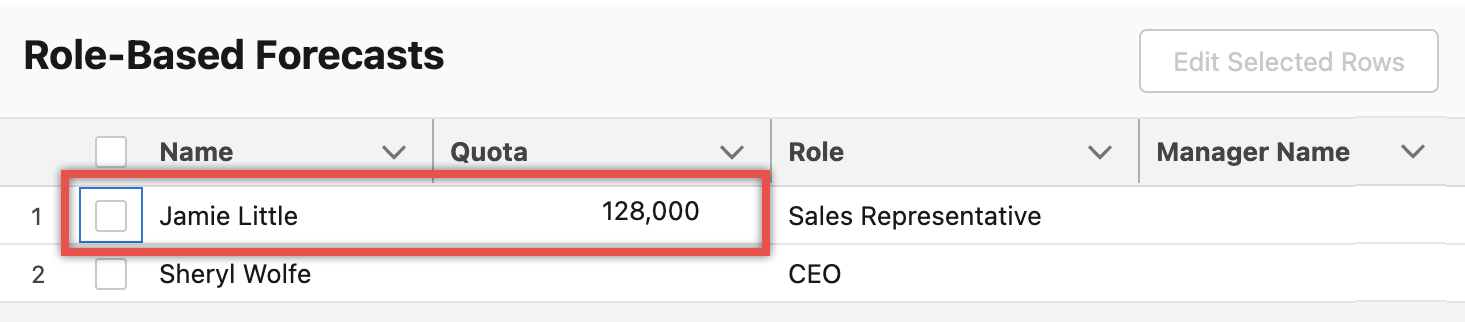
Next, you will see that the quota for the selected user appeared.
Tip
If you need to set the same quota to several users, you can select the checkboxes next to all their names, click Edit Selected Rows, enter the quota per one user and click Save.