How to resolve the “Need Admin Approval” error


Issue
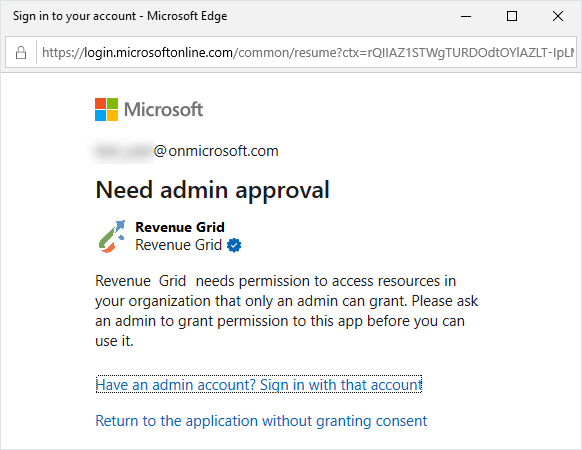
The Need Admin Approval error may occur when a regular user attempts to get authenticated in Revenue Grid with one’s Microsoft 365 credentials in the OAuth window:
Cause
This error appears when the RG application lacks permissions that must be granted at the admin level. This can happen, for example, when additional features are enabled for an RG tenant, profile, or specific users, and those features require extra permissions.
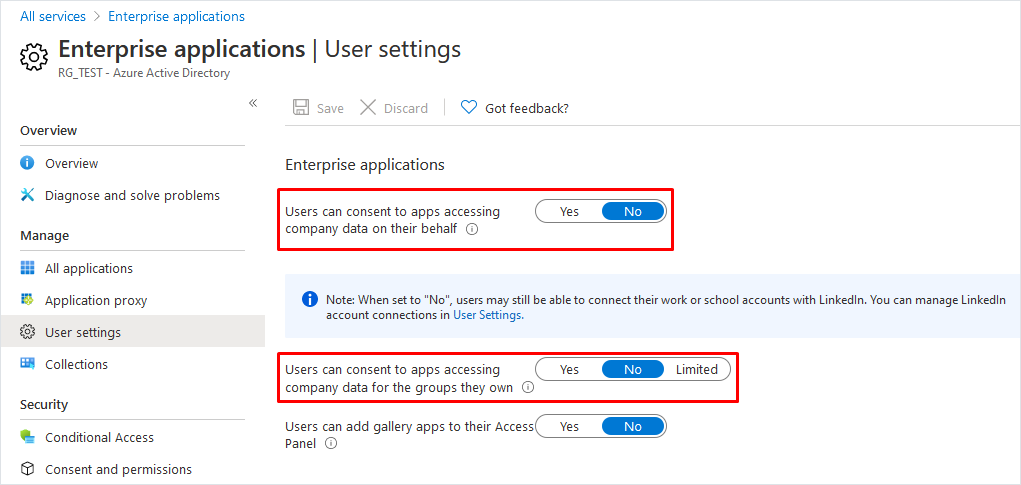
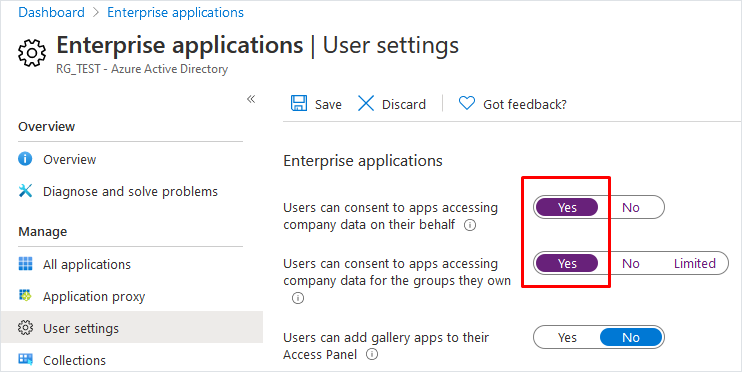
Additionally, this error indicates that the User can consent to apps accessing company data on their behalf setting is disabled (set to No) in the User permission settings of the corporate Microsoft Entra admin center. This also applies to its related setting for accessing group data.
You can find this setting in Applications > Enterprise applications > User settings in the Microsoft Entra admin center.
Recommended solution
For an admin, the easiest way to address this issue is to grant Revenue Grid tenant-wide admin consent using the URL for granting tenant-wide admin consent.
-
Copy this link to any text editor:
https://login.microsoftonline.com/{organization}/v2.0/adminconsent?client_id=336be6bf-83eb-47ad-93ef-32250063f88d&redirect_uri=https://portal.azure.com/TokenAuthorize&scope=https://graph.microsoft.com/Calendars.ReadWrite%20https://graph.microsoft.com/Contacts.ReadWrite%20https://graph.microsoft.com/email%20https://graph.microsoft.com/Mail.Read%20https://graph.microsoft.com/Mail.ReadWrite%20https://graph.microsoft.com/MailboxSettings.ReadWrite%20https://graph.microsoft.com/offline_access%20https://graph.microsoft.com/profile%20https://graph.microsoft.com/User.Read%20https://graph.microsoft.com/User.ReadBasic.All%20https://outlook.office365.com/EWS.AccessAsUser.All%20https://graph.microsoft.com/Mail.Send%20https://graph.microsoft.com/Tasks.ReadWrite -
Substitute
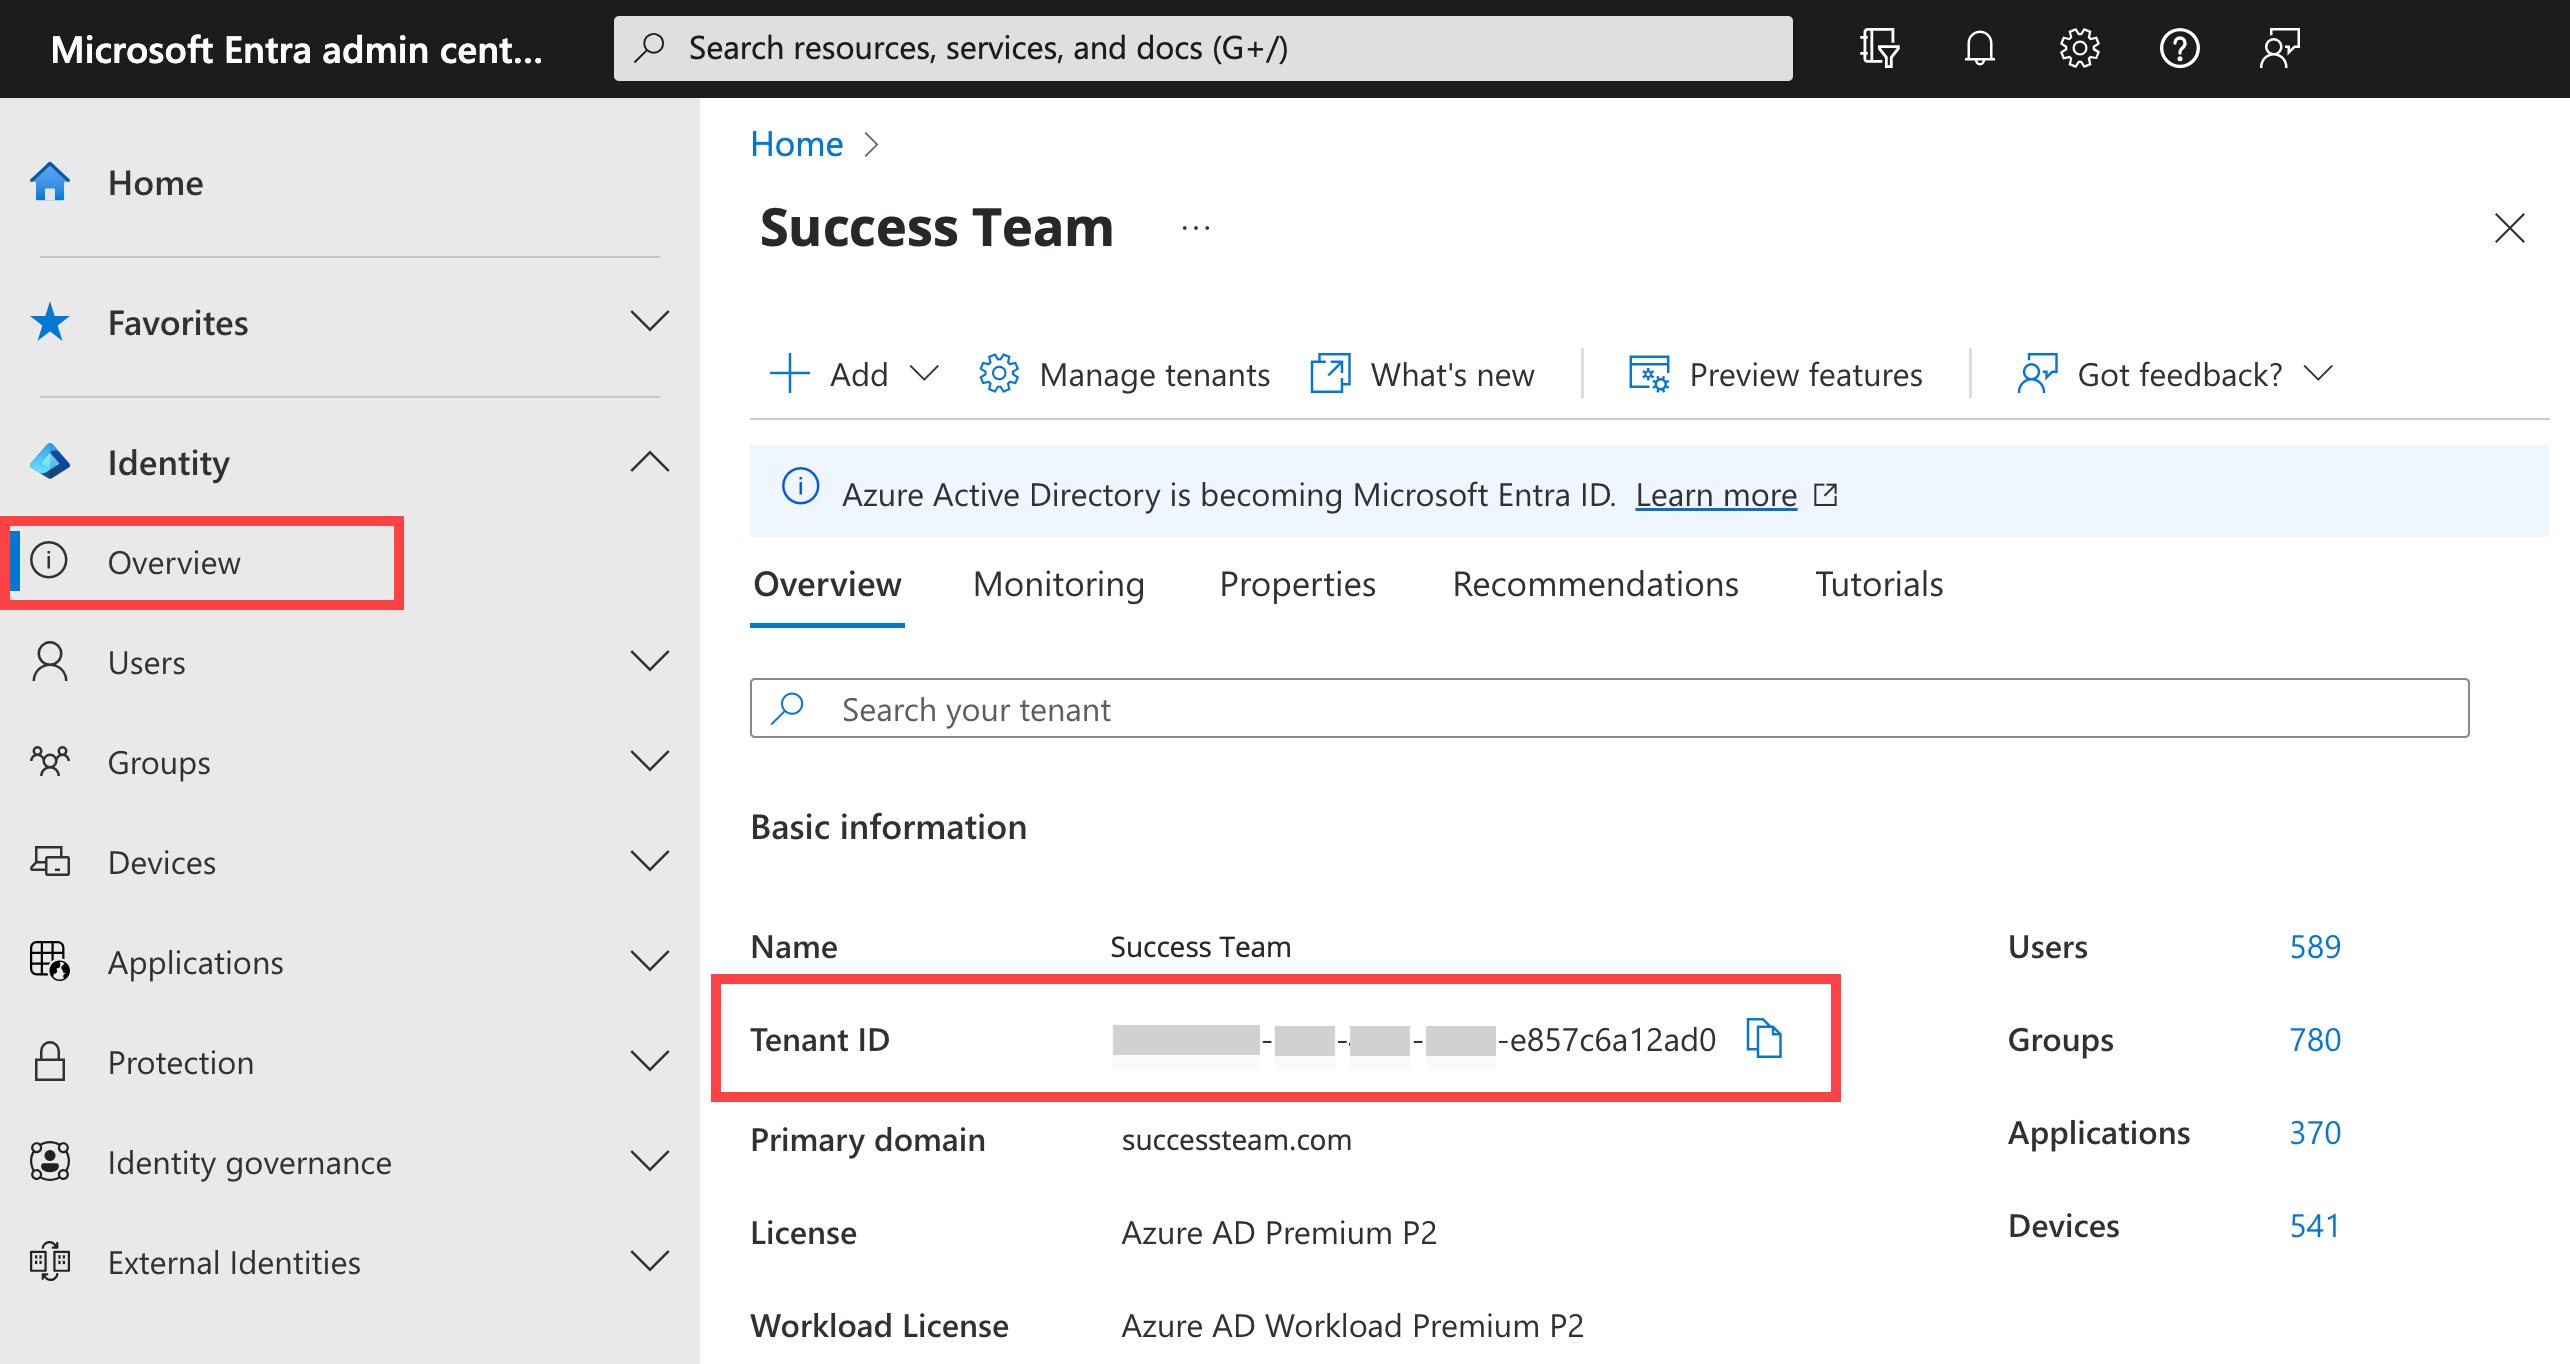
{organization}with your Microsoft 365 tenant ID. To retrieve your Microsoft 365 tenant ID:- Log in to the Microsoft Entra admin center.
- Go to Identity > Overview.
- Under Basic information, find Tenant ID and copy it.
Important
Customers on dedicated single-tenant instances must also amend the client_id value in the URL above. In such cases, it must be substituted with the ClientID value provided by the Revenue Grid CSM team.
- Open the amended URL in the preferred web browser.
- Log in using the Microsoft admin account with the permissions listed in this Microsoft article. Admins with roles that have lower levels of permissions won’t be able to grant consent.
- Review the required permissions.
Note
RG Email Sidebar accesses and handles the end users’ email and CRM data in a most secure and private manner, according to our Privacy and Security guarantees, so approving this data access is safe.
Full list of the Revenue Grid application permissions
| API name | Claim value | Permission | Type | Granted through | Granted by |
|---|---|---|---|---|---|
| Microsoft Graph | Mail.ReadWrite | Read and write mail in all mailboxes | Application | Admin consent | An administrator |
| Microsoft Graph | Contacts.ReadWrite | Read and write contacts in all mailboxes | Application | Admin consent | An administrator |
| Microsoft Graph | User.Read.All | Read all users’ full profiles | Application | Admin consent | An administrator |
| Microsoft Graph | Calendars.ReadWrite | Read and write calendars in all mailboxes | Application | Admin consent | An administrator |
| Microsoft Graph | Mail.Send | Send mail as any user | Application | Admin consent | An administrator |
| Microsoft Graph | MailboxSettings.ReadWrite | Read and write all user mailbox settings | Application | Admin consent | An administrator |
| Microsoft Graph | Tasks.ReadWrite.All | Read and write all users’ tasks and task lists | Application | Admin consent | An administrator |
| Microsoft Graph | Chat.Read.All | Read all chat messages | Application | Admin consent | An administrator |
| Microsoft Graph | OnlineMeetings.Read.All | Read all online meeting details | Application | Admin consent | An administrator |
| Microsoft Graph | OnlineMeetingTranscript.Read.All | Read all online meeting transcripts | Application | Admin consent | An administrator |
| Microsoft Graph | OnlineMeetingArtifact.Read.All | Read all online meeting artifacts | Application | Admin consent | An administrator |
| Microsoft Graph | Calendars.ReadWrite | Have full access to user calendars | Delegated | Admin consent | An administrator |
| Microsoft Graph | Contacts.ReadWrite | Have full access to user contacts | Delegated | Admin consent | An administrator |
| Microsoft Graph | View users’ email address | Delegated | Admin consent | An administrator | |
| Microsoft Graph | Mail.ReadWrite | Read and write access to user mail | Delegated | Admin consent | An administrator |
| Microsoft Graph | MailboxSettings.ReadWrite | Read and write user mailbox settings | Delegated | Admin consent | An administrator |
| Microsoft Graph | offline_access | Maintain access to data you have given | Delegated | Admin consent | An administrator |
| Microsoft Graph | profile | View users’ basic profile | Delegated | Admin consent | An administrator |
| Microsoft Graph | Tasks.ReadWrite | Create, read, update, and delete user’s tasks | Delegated | Admin consent | An administrator |
| Microsoft Graph | User.Read | Sign in and read user profile | Delegated | Admin consent | An administrator |
| Microsoft Graph | User.ReadBasic.All | Read all users’ basic profiles | Delegated | Admin consent | An administrator |
| Office 365 Exchange Online | EWS.AccessAsUser.All | Access mailboxes as the signed-in user | Delegated | Admin consent | An administrator |
- Click Accept to grant the necessary permissions to Revenue Grid on behalf of all users in your organization.
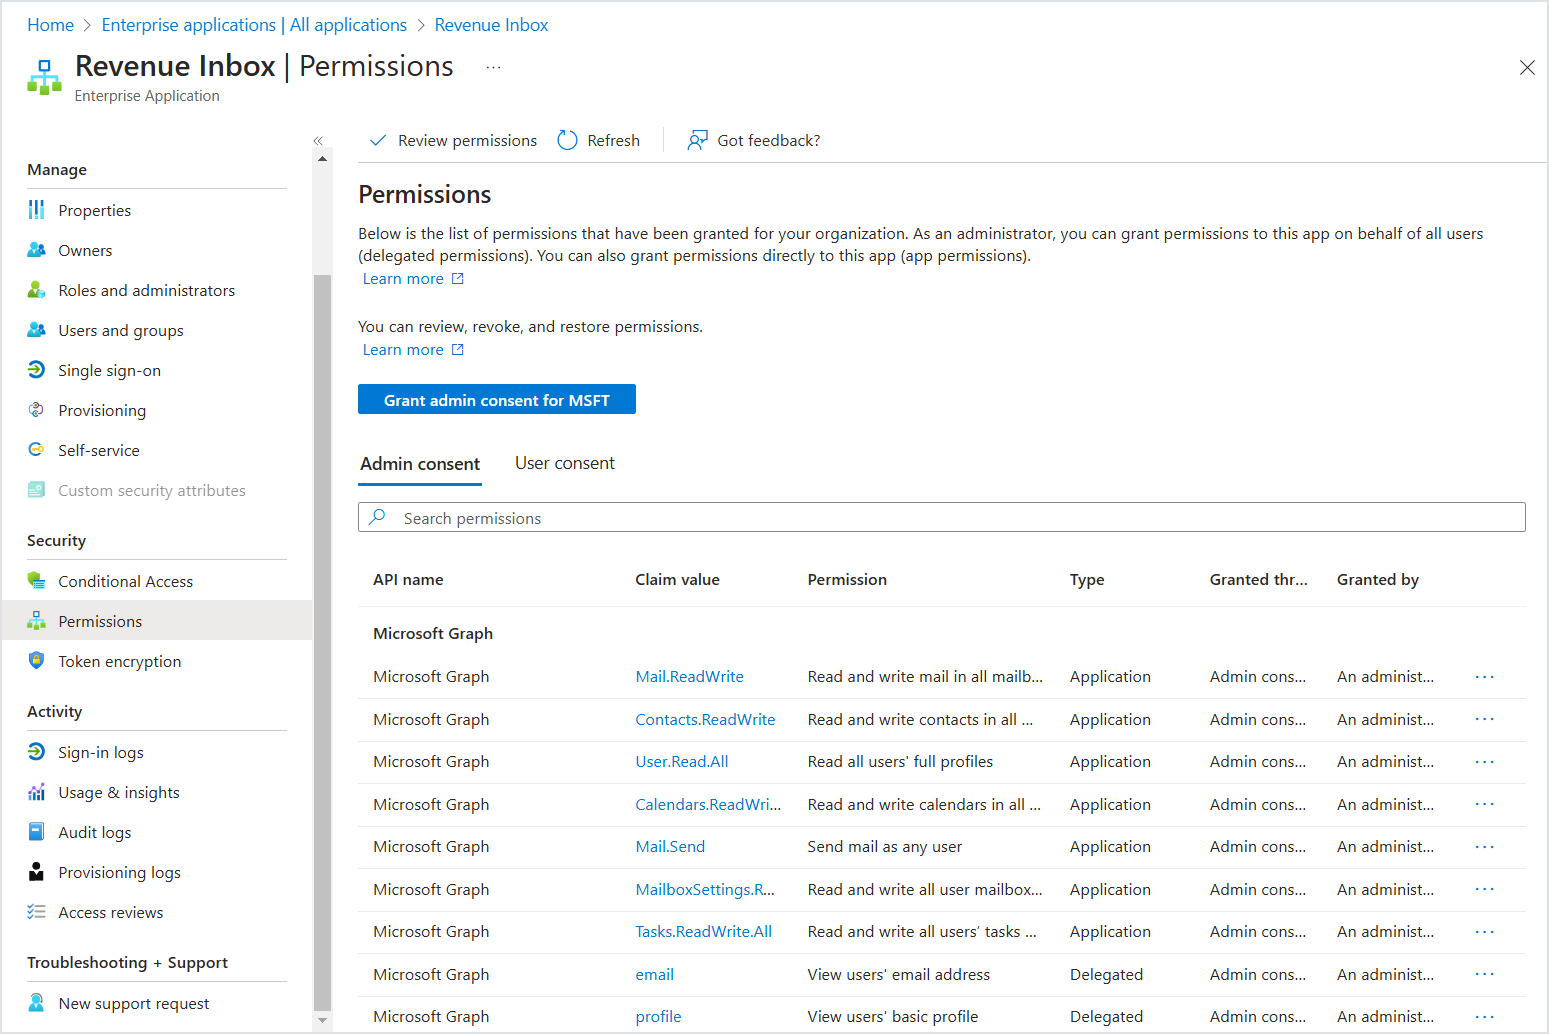
After completing these steps, the Revenue Grid app will be added to your tenant’s Enterprise applications so that you can further manage it in your Microsoft Entra admin center.
Also, you can review the list of consent permissions by clicking on the application name on the Admin consent tab.
Alternative solutions
There are three alternative methods for resolving this issue:
- Method 1 - when Revenue Grid is already in the list of Enterprise applications in the Microsoft Entra admin center.
- Method 2 - when Revenue Grid is not in the list of Enterprise applications in the Microsoft Entra admin center.
- Method 3 - when you want to allow end users to consent to apps on their own.
Method 1
- Log in to Microsoft Entra admin center (previously MS Azure AD) with admin credentials.
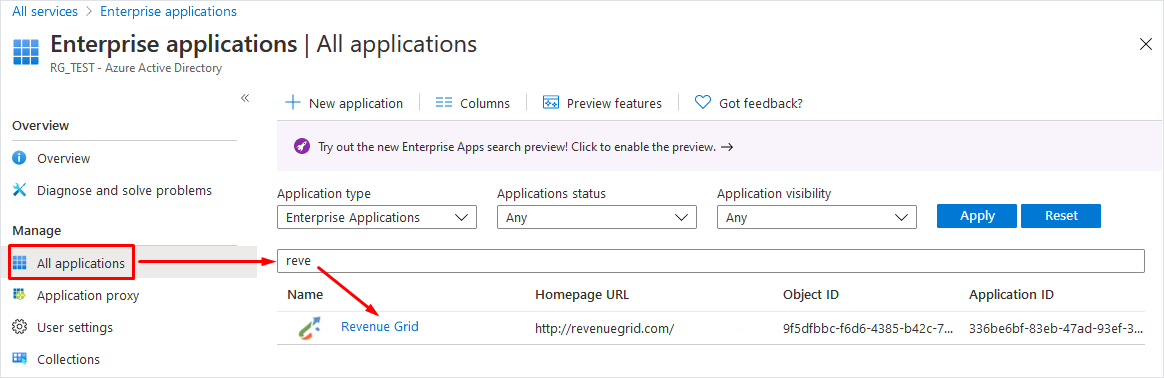
- Go to Enterprise applications.
- Select All applications.
-
Type Revenue Grid in the search field to find the app, and select it.
Important
The application may be absent if no users have previously registered their consent for the app. If this is the case, see Method 2 from this article.
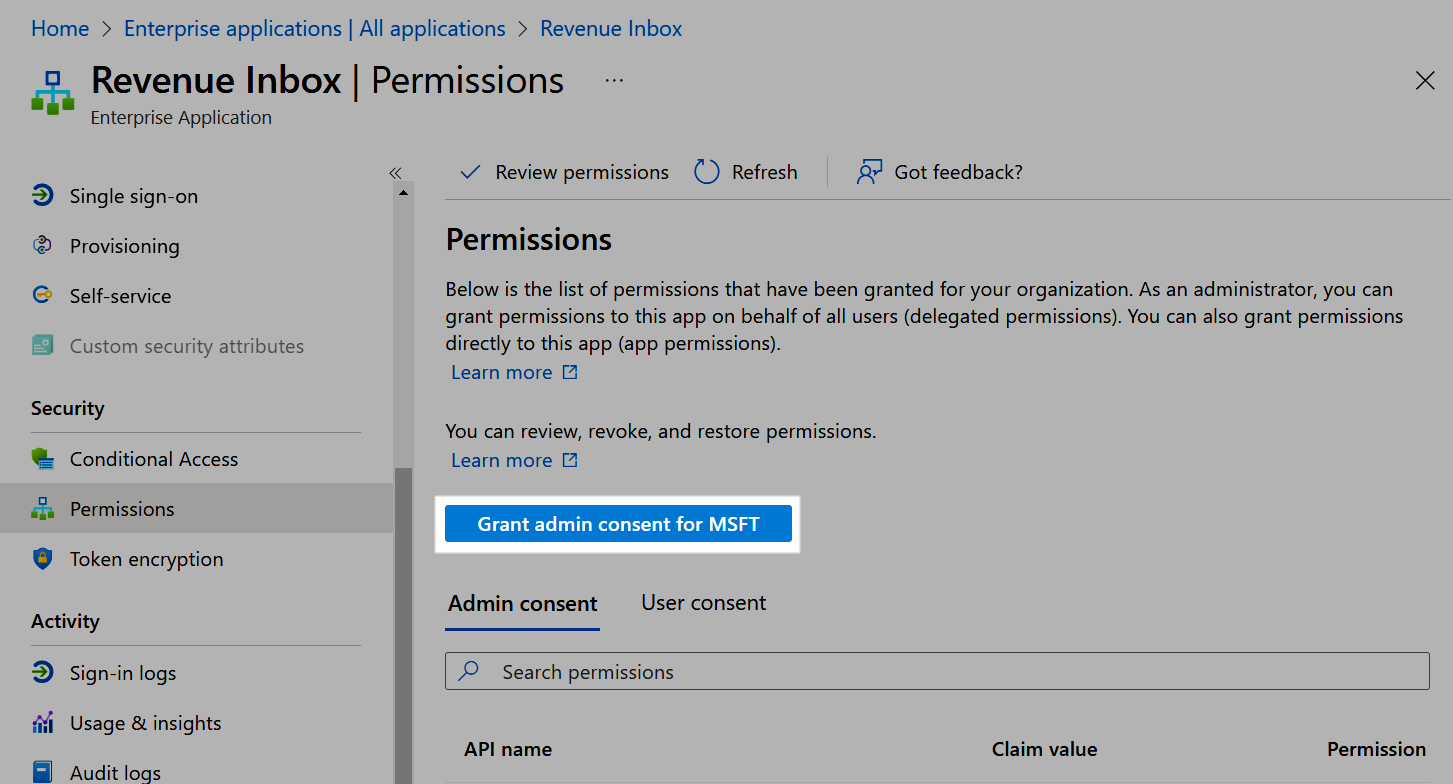
-
Open the Permissions tab and click Grant admin consent for [your tenant name].
-
Log in with Microsoft 365 admin credentials and click Accept in the Permissions requested dialog that appears.

-
Refresh the page with permissions for the application for which you’ve just registered your consent.
-
The list of consent permissions will be displayed in the Admin consent tab on the Permissions page.
After that, end users should do the following:
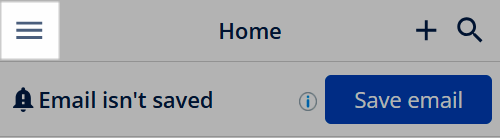
-
Open the RG Email Sidebar and click the Menu icon ().
-
Select Sync settings.

-
Grant access to their mailbox data when prompted in the Microsoft 365 OAuth dialog.
As soon as access is granted, users can start using all RG Email Sidebar functions.
Method 2
Another way to resolve the issue is for the Microsoft 365 admin to register consent for the app on the initial login. This method requires the Microsoft 365 admin to be provisioned as an RG user.
Setup actions to be performed by the admin:
- Log in to the RG Email Sidebar with Salesforce credentials registered for the admin’s account.
- Click the Menu icon ().
3. Select Sync settings.
- Log in with Microsoft 365 admin credentials in the Microsoft 365 OAuth dialog that appears.
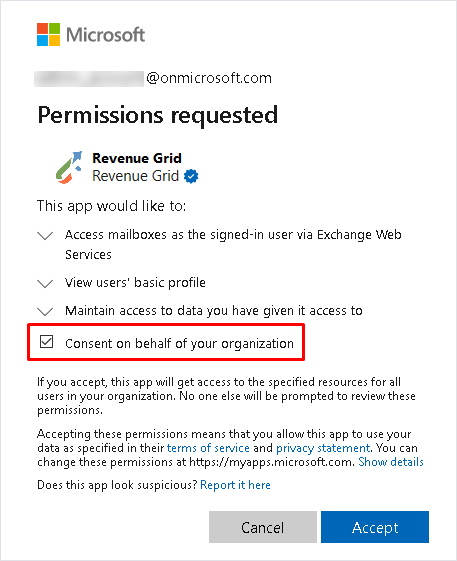
- In the following Permissions requested dialog, select Consent on behalf of your organization and click Accept.
If authorization is successful, a “Signed in successfully” notification will appear.
Now, the consent to use the app has been granted for the whole organization, and all end users in it are allowed to perform Microsoft 365 data access authorization for RG Email Sidebar.
How to remove Microsoft 365 admin from RG Profile (optional)
If the Microsoft 365 admin does not intend to use the RG application, the corresponding user can be removed via the RG Admin Panel. To do that:
- Log into RG Amin Panel with RG admin credentials.
-
In the Administration section, open the Users tab.
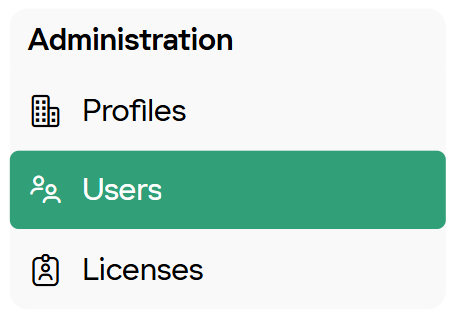
-
Find the Microsoft 365 admin user in the list, click the Dots icon () next to it and select Force delete.
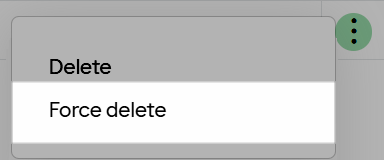
-
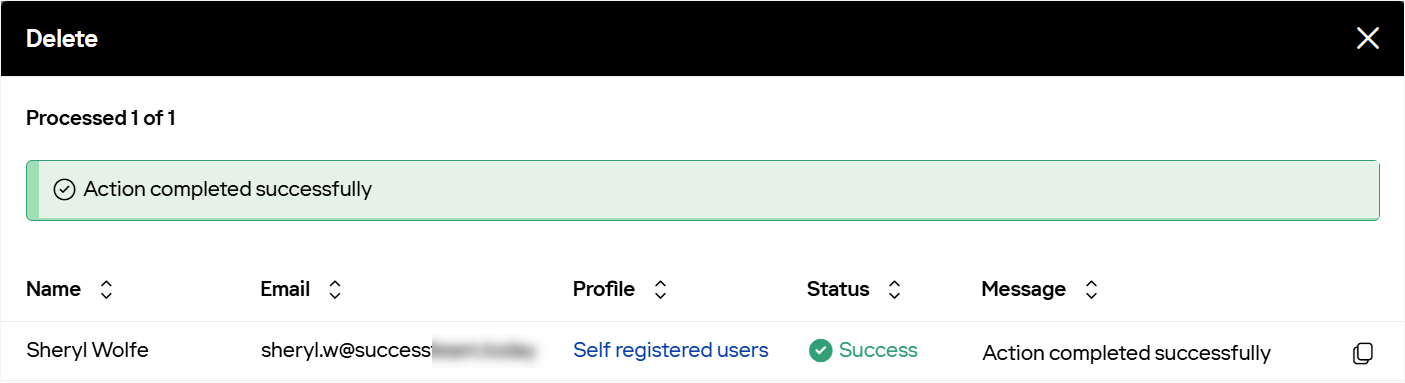
In the confirmation dialog, click Delete.
A Delete dialog will appear, showing the details of the deleted user.
Method 3
Another option is to allow the end users to register consent for applications on their own.
Important
If this method is used, the end users can register consent for any third-party applications. For some enterprises, such a setup might contradict general Office Apps security policies.
- Log in to Microsoft Entra admin center (previously MS Azure AD) with admin credentials.
- Go to Enterprise applications > User settings.
-
Switch the User can consent to apps accessing company data on their behalf setting to Yes. Enabling the User can consent to apps accessing company data for the groups they own setting is optional.
See also
- Revenue Grid Email Sidebar mass deployment scenarios
- How Revenue Grid Email Sidebar works with EWS
- Microsoft Consent framework
- Microsoft App Consent Experience
