General Settings of Revenue Grid
 Settings page is used to view and adjust the basic parameters of user activities in Revenue Grid (RG).
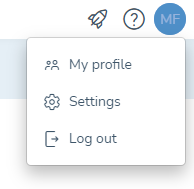
To access Revenue Grid Settings, click the Settings icon in the top right corner of the RG interface.
Now more detailed about every of the tabs.
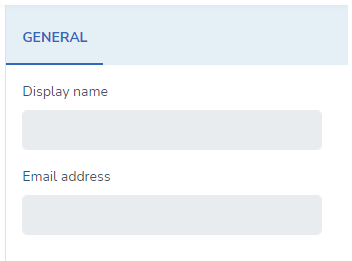 Go to Personal settings → My account subtab. It indicates current RG user's display name and email address. You can't change it, since it's being pulled from your CRM and email accounts.
Sequences settings
In the Sequences section, you can configure the General, Signature, Merge fields, Editor and Blocklist settings.
Configure notifications
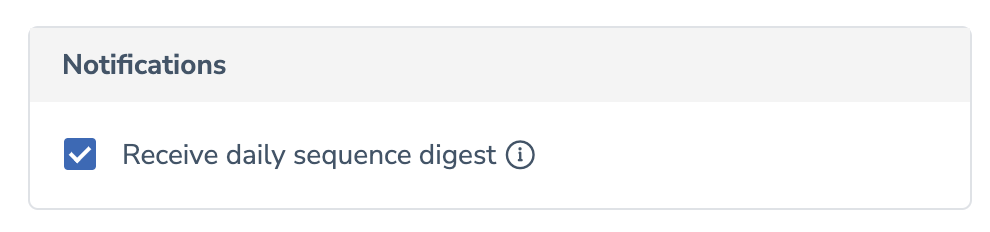
In the Notifications section you can select the rules for receiving notifications.
The Receive daily sequence digest checkbox controls whether you receive daily sequence’s digest to your email or not. If the checkbox is selected, but you still don’t receive the digest, it means the digest option is turned off for your organization. Contact you Revenue Grid Signal manager.
Set numbers for sending SMS and making voice calls
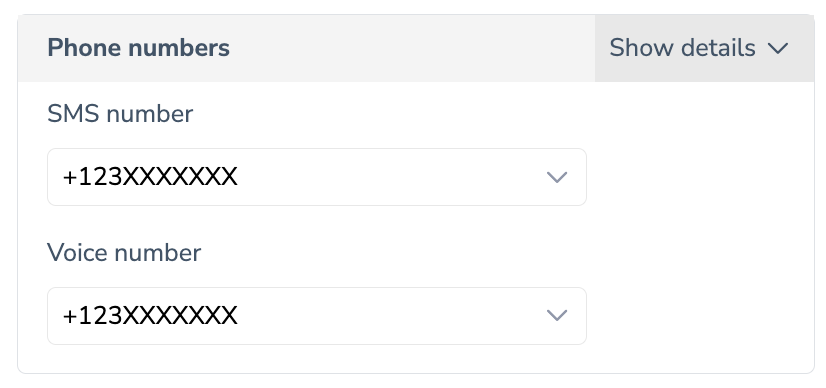 In addition, when Admin level SMS setting is set, you can choose a single number from the SMS number dropdown list or enter a new phone number manually. This number will be reserved for executing SMS type of steps only of your sequences.
Similarly, you can choose a single number from Voice number dropdown list or enter a new phone number manually. This number will be reserved for executing call type of steps only of your sequences.
Specify country and time zone for scheduling steps
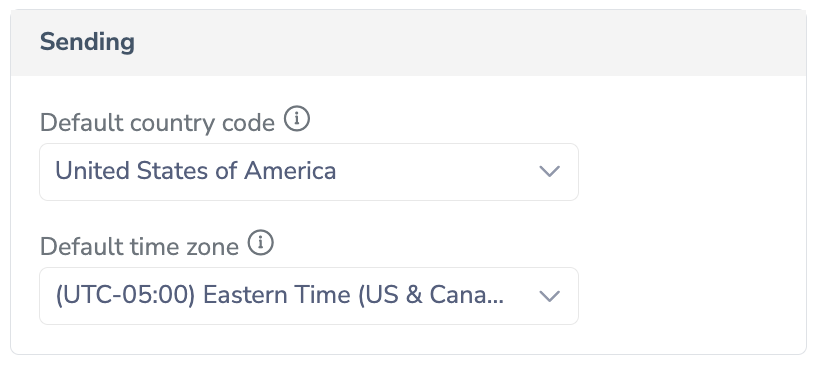
In the Sending section, you can specify the Default country code. The specified country's calendar is used when planning Sequence steps for Recipients with no specified country to schedule steps only on business days.
Also, here, you can select the Default time zone to be used when planning Sequence steps for Recipients with no specified time zone.
The default country code and time zone specified in this section are automatically preselected for all newly created sequences. If necessary, you can set country code and time zone that differ from the default ones for a specific sequence in sequence Settings on its creation or after it is created. Learn more in this article.
The default country code and time zone apply only to prospects without any country or time zone specified (e.g., no address in Salesforce).
For prospects with a specified country and time zone, the sequences will be sent according to their country calendar and time zone.
Pause/start sequences-related activity
In the Sequences activity section you can manage all your user sequence activities - pause and restart them on specified dates. These settings are especially useful when you need to temporarily stop sending sequences, for example, while you are on a vacation.
If you need to pause or start a sequence on specific dates, click three dots on the sequence and select Set sequence dates. In the pop-up window that appears, specify the necessary dates. More info in this article.
Change fonts
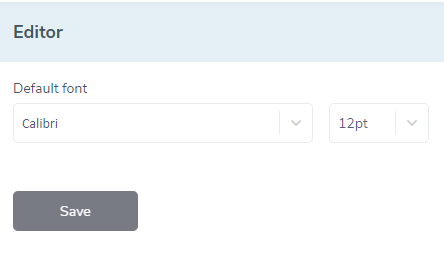 In the Font editor section, you can change default font of the text editors, whether when creating a Step or a Template, replying in the Action Center, etc.
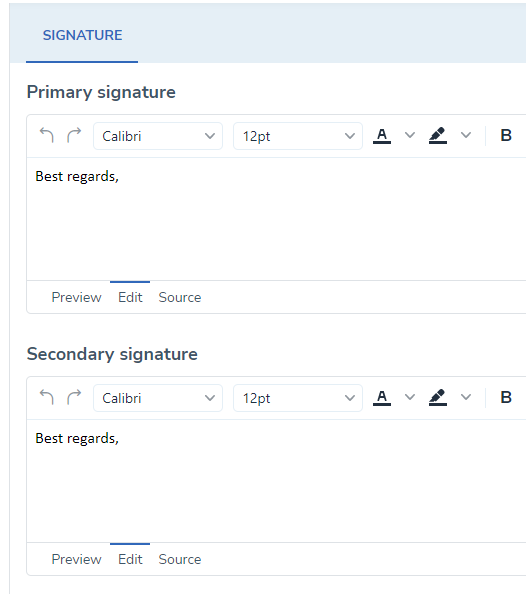
Manage signatures
 Go to Personal settings → Sequences → Signature subtab.
Here you can set up signatures which will be used in your RG emails. Use Primary signature or Secondary signature Signature types of RG merge field in order to add these signatures to Sequences' steps.
You can set up 2 different signatures, Primary and Secondary. They can be used in various cases, e.g. intended for prospects who speak different languages, or when you want your replies and new threads signed differently.
Using the Auto-insertion rule drop-down list, you can specify when to use one or another signature:
- Add primary signature to sequence emails – select this option if you want the signature to be automatically added to all email type of steps sent by Sequences.
- Add primary signature only to the 1st email in every new thread – select this option if you want the signature to be used only in “New thread” type of email Steps, rather than in “Reply”. You choose the type when adding or editing an email type of a step.
- Add primary signature to the 1st email and secondary to all next emails – select this option if you want the Secondary signature to be added to every email sent in a Sequence starting from the second step. With this option selected, the primary signature is automatically added only to the first email.
- Do not add signature – select this option if you do not want any signature to be automatically added to sequences’ emails.
Auto inserted Signature
Keep in mind that based on selected preferences of auto-adding a signature to sequence emails, you will see a special tag {{Auto inserted Signature}} in the email body editor when creating or editing an email type of step.
When there is {{Auto inserted Signature}}, then Primary nor Secondary signature merge fields will not appear when you try to add them manually.
Edit the signatures
To edit or format the signatures, use of the standard formatting tools located above the body field.
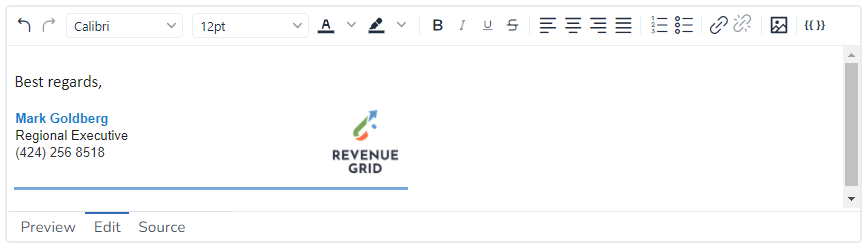
Alternatively, you can create a signature in a preferred HTML editor or copy it from your MS Outlook/Microsoft 365/Gmail. In order to create such signatures, switch the Source code (HTML) mode by clicking the Source on the bottom of the editor, and paste the preferred signature into it.
 Add URLs into the signature and define how the URLs are displayed and opened. If you need to remove an URL (unlink), click on the URL placement word or phrase and then click the
  (Unlink) icon on the right-hand side of the text editing bar.
 Use Revenue Grid merge fields to add recipient- or campaign-specific data into your signature.
Using merge fields, you can add a pre-made Unsubscribe Links directly to your signature and when adding a signature to your email, the unsubscribe link will be added within.
Additionaly, you can paste an inline image from clipboard into the signature.
Manage merge fields
Go to Personal settings → Sequences → Merge fields subtab to set personal Unsubscribe and Book me merge fields (links).
Unsubscribe text
To keep Revenue Grid’s automated email sequences non-obtrusive, messages sent via the platform must include an unsubscribe link for the prospects. The unsubscribe text and link can be customized to match specific campaign needs and requirements.
Unique unsubscribe URLs are automatically generated by Revenue Grid for every created Sequence, as specific unsubscribe merge fields.
To set the unsubscribe section for your emails:
- Open the Merge Fields subtab under Sequences in Personal settings
- In the Unsubscribe text area, click on the text field and enter the necessary unsubscribe text, e.g. “Click this link to unsubscribe from our offers”
-
Select the word or phrase to which the unsubscribe URL must be added (e.g. “this link”) and then click the
 icon on the right-hand side of the text editing bar.
 If you decide to remove the URL (unlink), click on the URL placement word or phrase and then click the
(Unlink) icon on the right-hand side of the text editing bar. The hyperlink will be removed. -
Then Save the changes.
Now the unsubscribe section is ready to be inserted into your RG emails, as {{Unsubscribe Text}} merge field. Alternatively, you can insert the “bare” unsubscribe link, as {{Unsubscribe Link}} merge field.
 After a prospect clicks the Unsubscribe link in an email, they are prompted to confirm this action on the unsubscribe page opened in their browser.
Note
If the unsubscribe section is not set up by a user, Revenue Grid use the one set up by Admin. In addition, Sequence-specific unsubscribe text can be used according to the campaign’s requirements: for example, for emails sent out to prospects who speak a different language.
BookMe text
On this page, you can also configure the Book Me merge field.
Different Book Me merge fields use cases:
- The {{Owner BookMe Text}} merge field is used when you own prospects in a sequence that is being run on behalf of prospect’s owner.
- The {{Sender BookMe Text}} merge field is used when you run a sequence on behalf of sequence owner, and you use.
Edit BookMe text
In order to set your Book me merge fields, go to Personal settings → Sequences → Merge Fields.
- Open the Merge Fields tab on the Settings page
- In the BookMe text area, click on the text field and enter the surrounding text, e.g. “Book a meeting with me”.
- Highlight the URL placement word or phrase with the cursor (e.g. “Book a meeting”) and then click the BookMe link icon on the right-hand side of the text editing bar.
- Then Save.
Now the Book Me link is ready to be inserted into your RG emails, as {{Sender Booking Text}} or {{Owner BookMe Text}} merge fields.
Note
In order to be able to use such merge field, the CalendarAvailabilityDefaultTimezone setting must be set on any level of settings (User / Org / Global). The value must be in IANA format statistics.
Add domains not to be imported to Revenue Grid
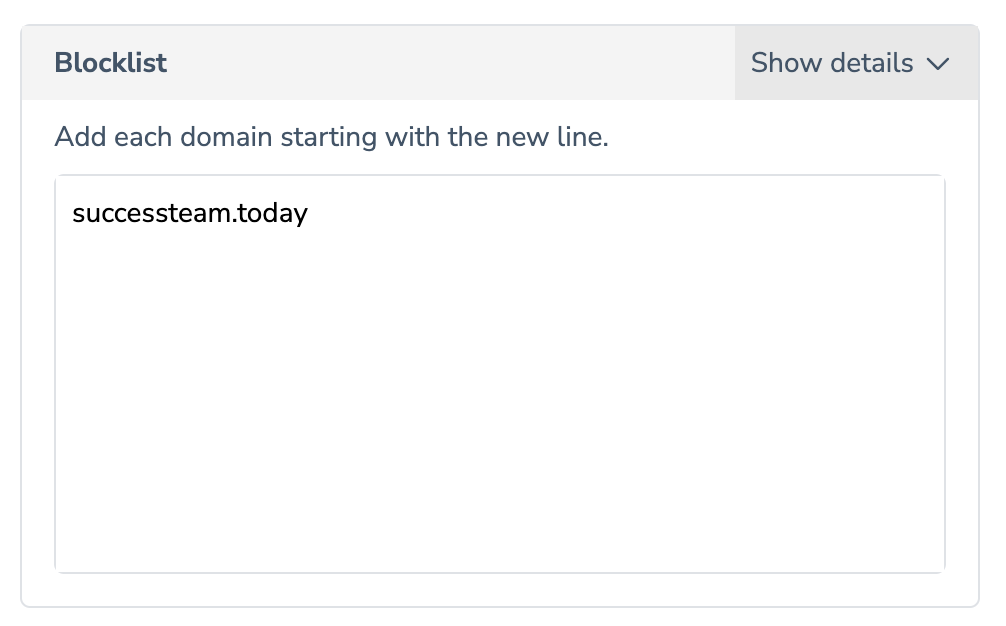 Go to Personal settings → Sequences → Blocklist subtab. List email domains which must not be imported to Revenue Grid as targeted audience.
For example, these can be your corporate domains, so emails of your colleagues don't get added to the Audience tab.
Your company domain is added to the blocklist automatically to prevent the generation of unnecessary communication traffic between colleagues through Revenue Grid. As a result, if you add a colleague to a sequence to test it, it won’t work. Use alternative emails to test sequences.
Your email and CRM connections to Revenue Grid
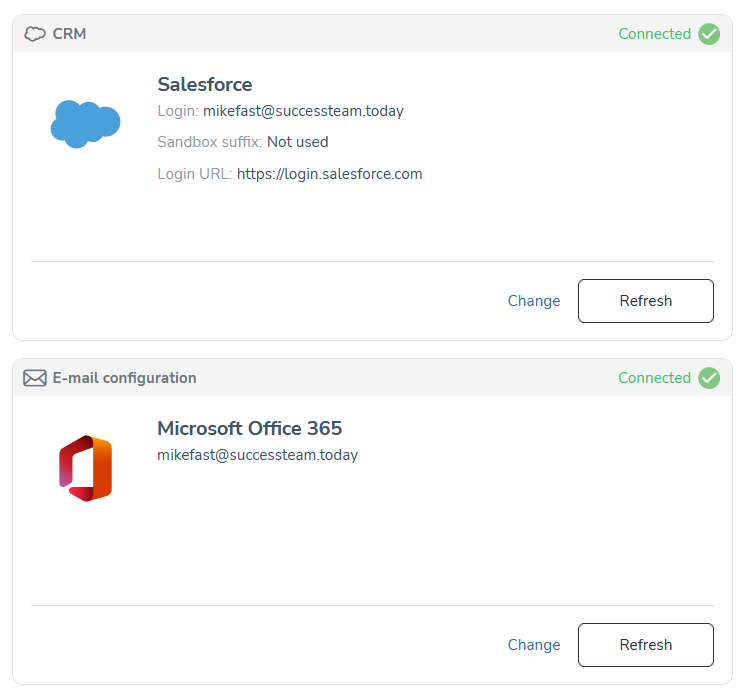 On this tab you can renew your Exchange / Microsoft 365 / Gmail and Salesforce access credentials.
Refer to this article for detailed instructions.
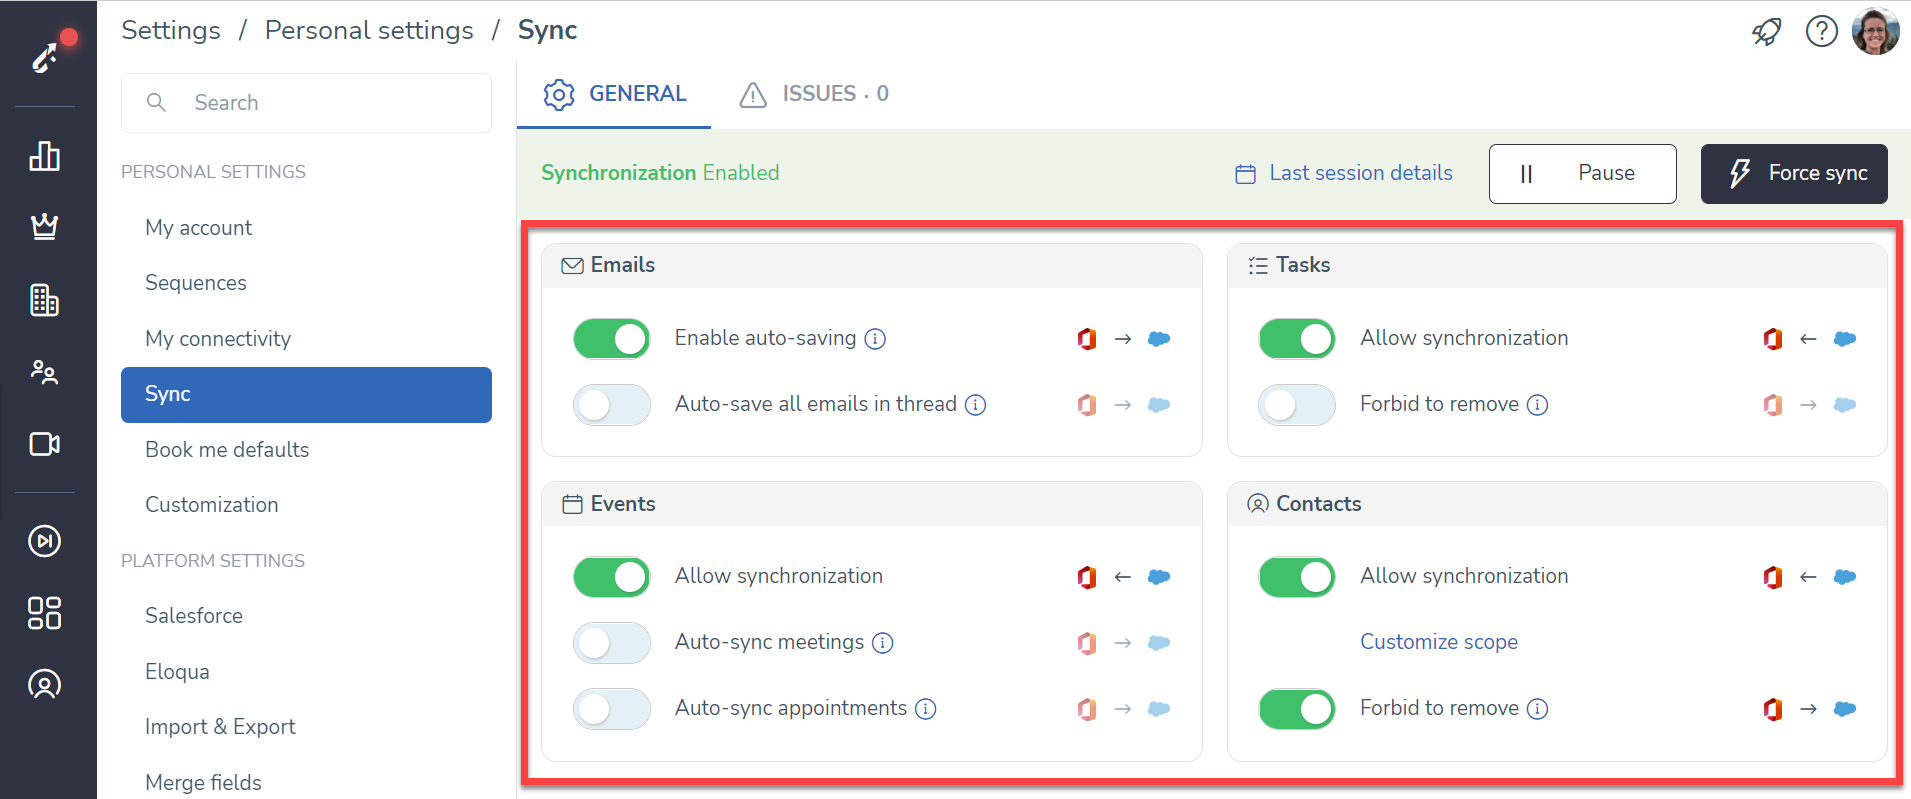
Synchronization
On the Sync tab you can Pause/Resume and Force your email-to-crm synchronization. Normally synchronization happens every 30 minutes, unless you manually force it. Refer to this article for details.
Book me defaults
On this tab you can set the default values to appear in the Revenue Grid Email Sidebar every time you start creating a Book Me link. Refer to this article for detailed instructions.
Customization of the Email Sidebar
Refer to this article for detailed instructions on customization of the Email Sidebar.