Managing Users via the Solution’s Admin Panel


Important
To use RG Email Sidebar Admin Panel, special access permissions are required. To request the permissions for your organization, contact Revenue Grid support team by email.
Admin Panel provides tools for managing end users. Some of its key settings duplicate RG Email Sidebar Customization and Sync settings on the admin level.
Once you log in to the Admin Panel, you can manage users of your profile. Particularly, you can:
- View all users
- Enable, disable, and force user synchronization
- Check settings and connectivity
- Reset or re-initialize mailboxes
- Install or remove the Sidebar
- Reset Sidebar settings
- Delete and force delete users
- Move users between profiles
- Change user licenses
- Configure user settings
To access the full user list and settings:
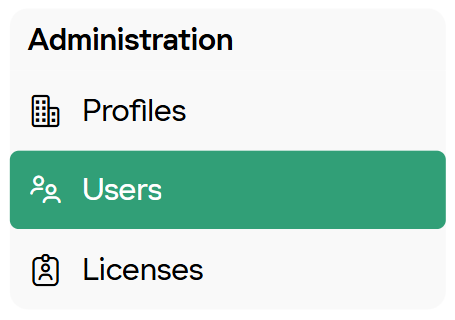
- In the Admin Panel, in the Administration section, click Users.
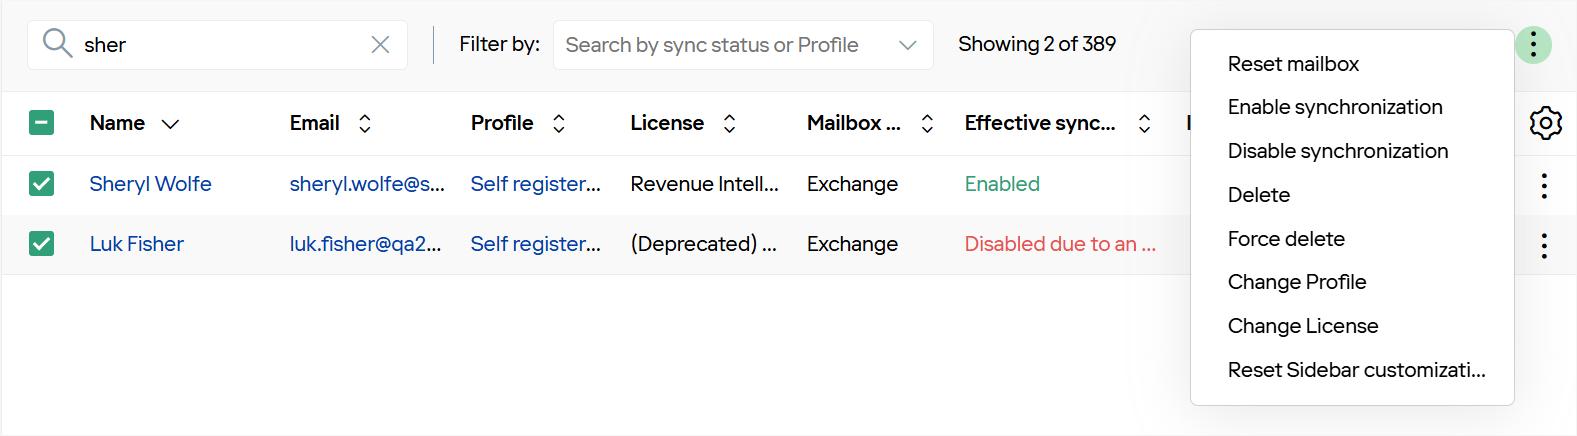
View all users
The Users page displays a list of all users across all profiles, along with key information to help you identify and resolve issues without needing to open individual user details.

User list columns
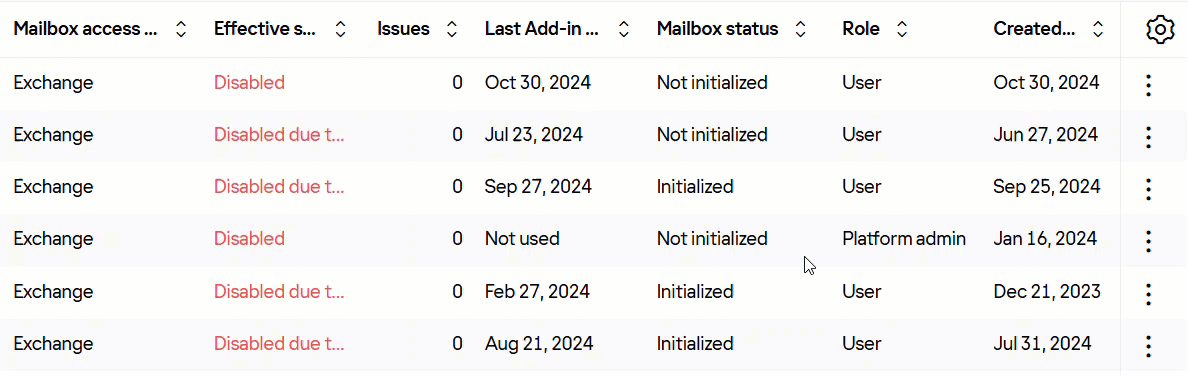
The user list includes the following details:
| Column | Description |
|---|---|
| Name | The user’s full name for quick identification. |
| The email address associated with the user. | |
| Profile | The profile assigned to the user. |
| License | The type of license assigned to the user. |
| Mailbox access type | The type of mailbox access Revenue Grid uses to access the user’s email. |
| Issues | The number of unresolved sync issues detected. |
| Effective synchronization status | The user’s current synchronization status. |
| Last Add-in usage | The user’s last activity or login date in the Sidebar. |
| Mailbox status | The current status of the user’s mailbox (e.g., Initialized or Not initialized). |
| Created on | The date the user was added. |
| Role | The user’s assigned role. |
Additional columns can be displayed using the Table actions menu ().
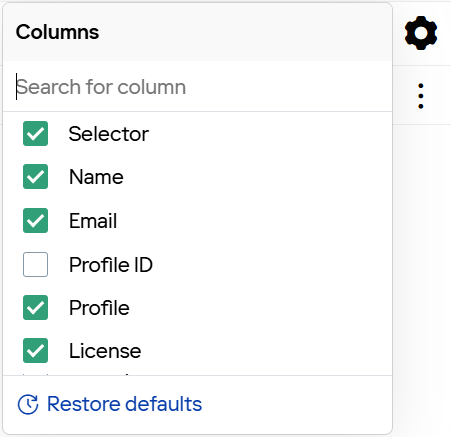
Show or hide columns
To display or hide columns with additional data:
- In the top-right corner of the list, click the Table actions icon ().
- In the menu, select or clear checkboxes next to the columns you want to show or hide.
Reorder columns
To move a column, click and hold its heading, then drag it to the desired location and release.

Search for a user
To quickly locate a user, enter the name in the Search field above the list.

Sort the user list
Click any column name to sort the list by ascending or descending values.
Filter the user list
To display a specific group of users, such as those with a particular profile or sync status, use the filter options:
- In the Filter by box, select criteria to filter users by Sync status, Mailbox status, or Profile.
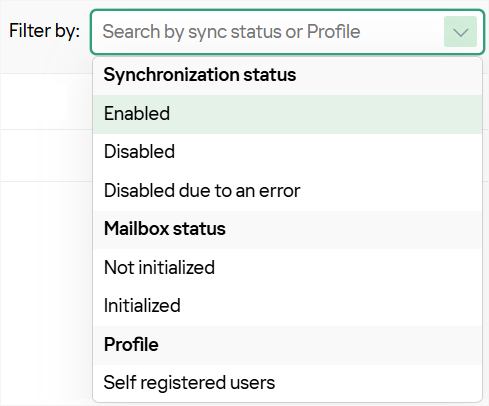
- To clear a filter, click the Close icon () next to it. To remove all filters, click the Close icon () on the Filter by box.

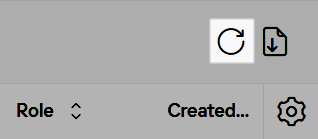
Refresh the user list
To update the list and ensure you’re viewing the latest data, click the Refresh icon () in the top-right corner.
Export the user list
Exporting the user list allows you to analyze data in external tools, share user details with support teams, or create a backup of current settings for future reference.
To export the list:
- In the top-right corner, click the Export to CSV icon ().
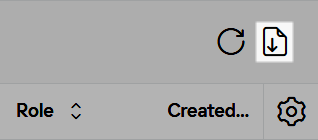
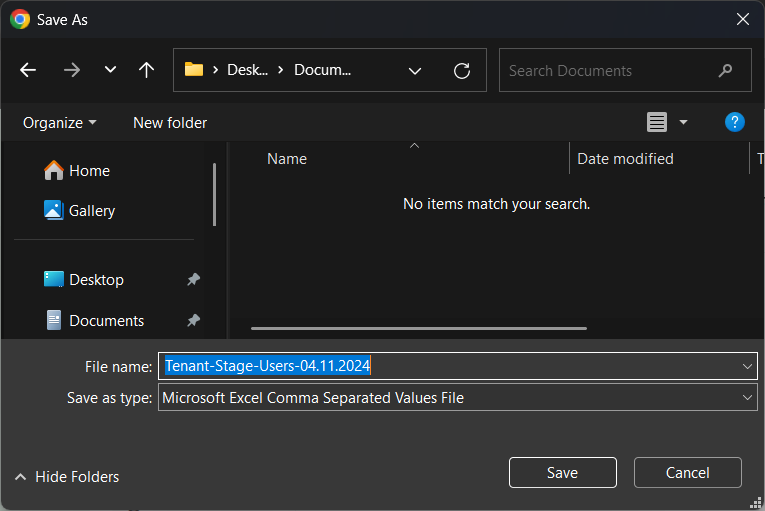
- In the Save As dialog box, choose a location to save the file. Update the file name if needed, then click Save.
The user list is now saved as a CSV file for external use or backup.
Actions with users
You can perform key actions for users directly from the users list. Some actions can be applied individually, while others can be done in bulk for multiple selected users.
-
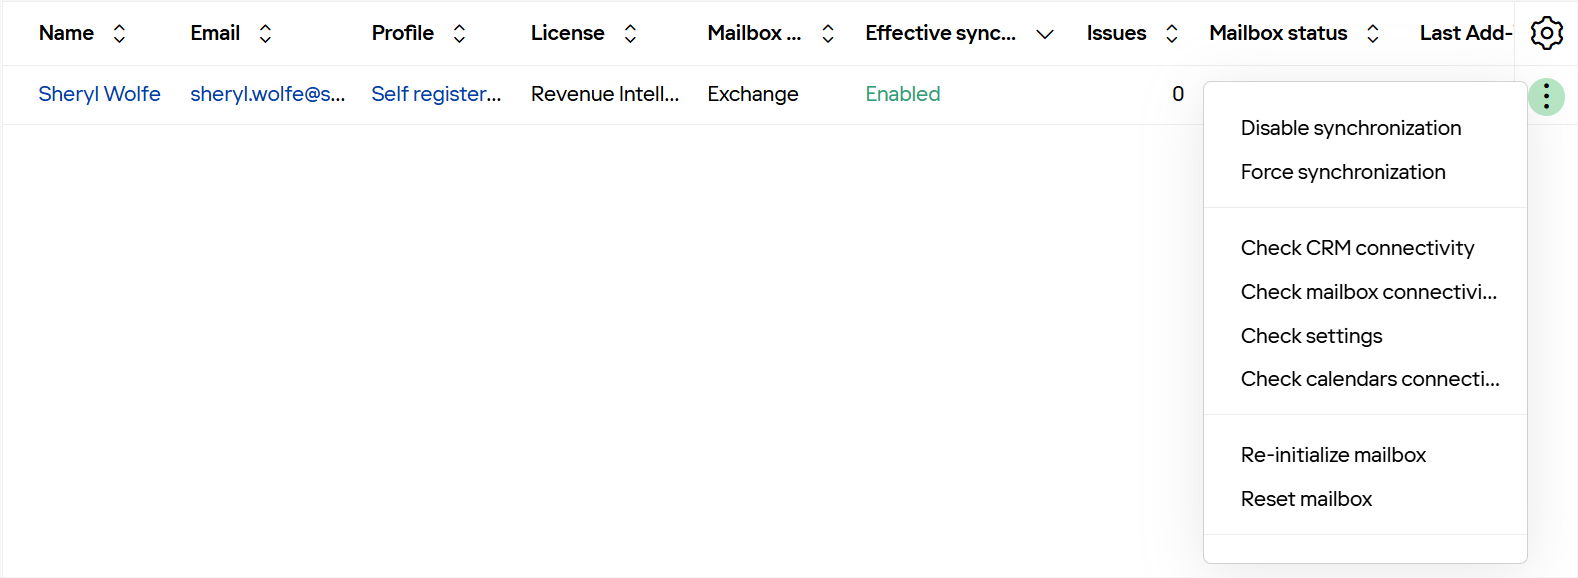
Individual user actions are available under the More actions menu () in the Actions column for each user.
-
To access actions for a group of users:
- Select the checkbox next to each user you want to include.
- In the top-right corner of the page, click the More actions icon ().
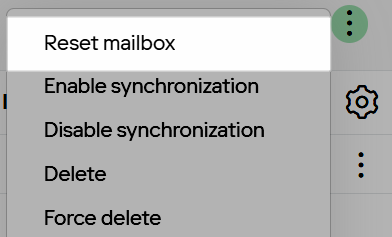
Enable, disable, and force synchronization
Use these options to manage a user’s synchronization status, including enabling, disabling, and manually forcing synchronization outside of scheduled intervals.
-
Enable synchronization
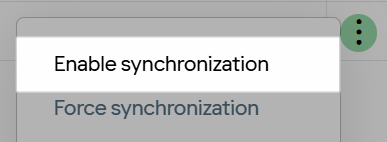
To enable synchronization for a user:
- In the Users tab of the Admin Panel, open the More actions menu () for the user.
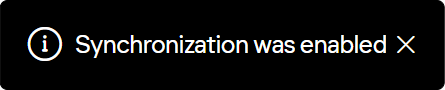
- Select Enable synchronization.
A confirmation message will appear at the bottom of the page, indicating that synchronization for the user has been enabled.
Note
If synchronization is disabled for a Profile, it will remain off for all users in that Profile, regardless of individual settings.
-
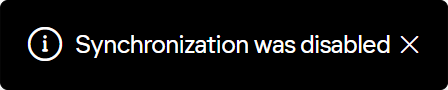
Disable synchronization
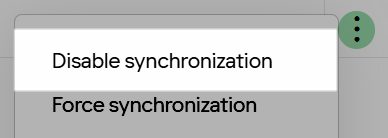
To temporarily suspend synchronization for a user:
- In the Users tab of the admin panel, open the More actions menu () for the user.
- Select Disable synchronization.
A confirmation message will appear at the bottom of the page, indicating that synchronization for the user has been disabled.
Note
Users can restart synchronization on their Sync Settings page.
-
Force synchronization
Synchronization generally follows a defined schedule, but users and admins can manually trigger it when needed.
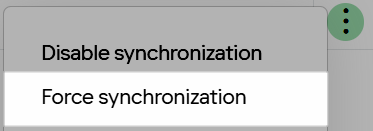
To force synchronization for a user:
- In the Users tab of the Admin Panel, open the More actions menu () for the user.
- Select Force synchronization.
A confirmation message will appear at the bottom of the page, indicating that synchronization for the user has been scheduled and will begin shortly.

Note
Manual synchronization can only be triggered 1 minute after the last attempt to prevent system overload from consecutive force sync requests.
-
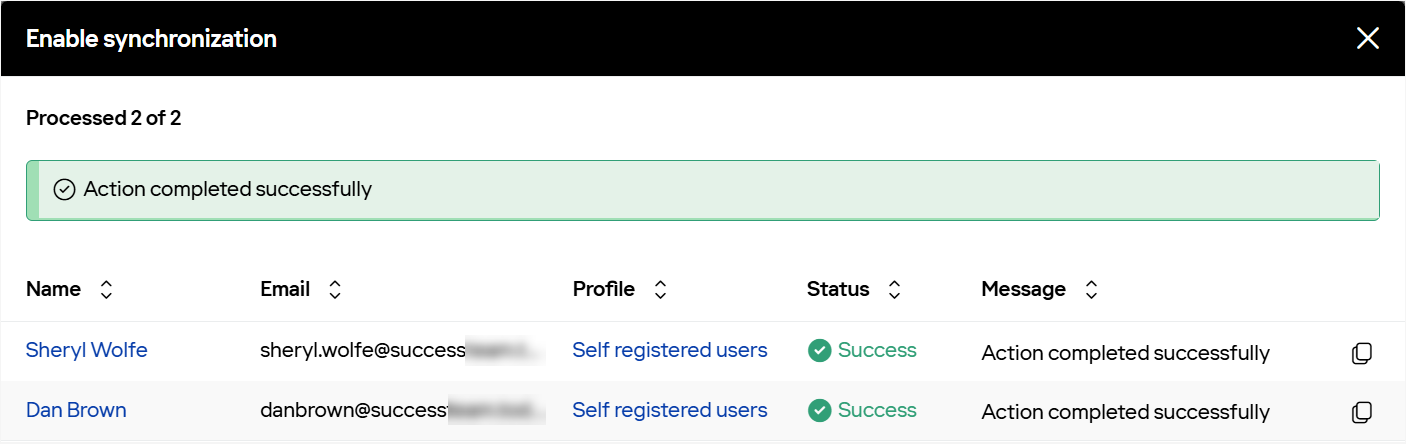
Mass enable or disable synchronization
To enable or disable synchronization for multiple users:
- In the Users tab of the Admin Panel, select the checkbox next to each user in the list.
- In the top-right corner of the page, click the More actions icon ().
- Select Enable synchronization or Disable synchronization.
A confirmation dialog will appear, displaying a message with the overall action result and a table showing the action status for each selected user.
Check user settings and connectivity
Use these checks to verify a user’s CRM and mailbox connections and to ensure that the Sync Engine is configured correctly.
-
Check CRM connectivity
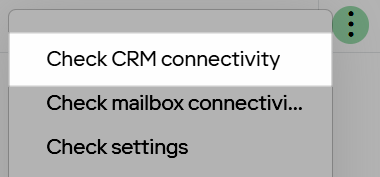
To verify a user’s Salesforce credentials:
- In the Users tab of the Admin Panel, open the More actions menu () for the user.
- Select Check CRM connectivity.
A confirmation message will appear if the check is successful; otherwise, an error message will display.

-
Check mailbox connectivity
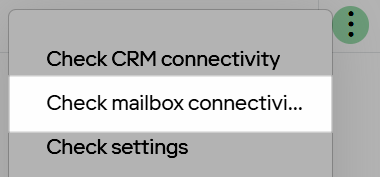
To verify a user’s mailbox connection credentials:
- In the Users tab of the Admin Panel, open the More actions menu () for the user.
- Select Check mailbox connectivity.
A confirmation message will indicate success, or an error message will appear if issues are detected.

-
Check settings
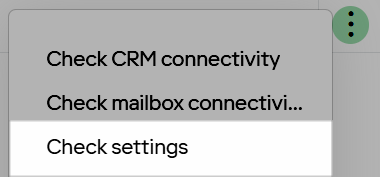
To confirm the Sync Engine setup or to restart it after resolving errors:
- In the Users tab of the Admin Panel, open the More actions menu () for the user.
- Select Check settings.
A confirmation message will appear if the setup is successful; otherwise, an error message will display remaining issues.

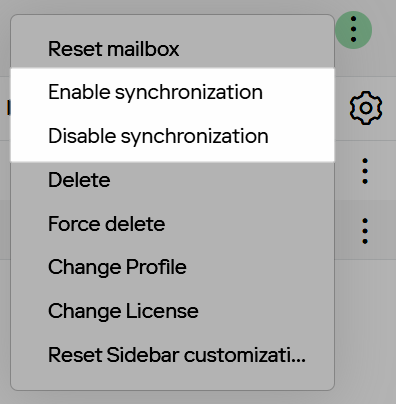
Reset or re-initialize mailbox
Use these commands to remove Sync Engine customizations from a user’s mailbox or to restart mailbox synchronization.
-
Reset mailbox
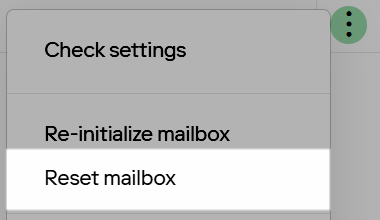
To remove Sync Engine customizations from a user’s mailbox and keep synchronization disabled:
- In the Users tab of the Admin Panel, open the More actions menu () for the user.
- Select Reset mailbox.
This action removes all Sync Engine customizations and any CRM data previously written to the mailbox, restoring it to its original state as it was before RG Email Sidebar and Sync Engine were installed.
Note
Once synchronization is re-enabled, the first sync attempt will reapply customizations to the user’s mailbox.
-
Re-initialize mailbox
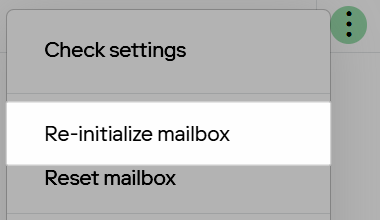
To refresh the mailbox data connection and resolve access or consistency issues:
- In the Users tab of the Admin Panel, open the More actions menu () for the user.
- Select Re-initialize mailbox.
-
Mass reset mailbox
To reset mailboxes for a group of users:
- In the Users tab of the Admin Panel, select the checkbox next to each user in the list.
- In the top-right corner of the page, click the More actions icon ().
- Select Reset mailbox.
A confirmation dialog will appear, displaying a message with the overall action result and a table showing the action status for each selected user.

Install and remove the Sidebar
Note
These actions can only be performed for individual users. Bulk installation or removal of the RG Email Sidebar is not supported.
Use these options to install or remove RG Email Sidebar for a user’s mailbox account.
-
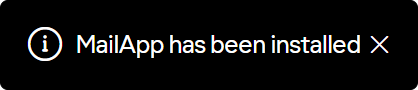
Install RG Email Sidebar
Installation is available only if the Sync Engine has been authorized to access the user’s mail server data, typically during user registration via the User Registration Wizard.
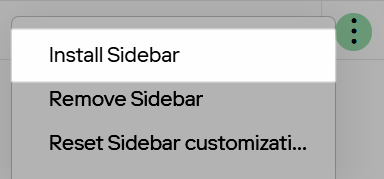
To install RG Email Sidebar:
- In the Users tab of the Admin Panel, open the More actions menu () for the user.
- Select Install Sidebar.
A confirmation message will appear at the bottom of the page, indicating that the MailApp was successfully installed.
-
Remove RG Email Sidebar
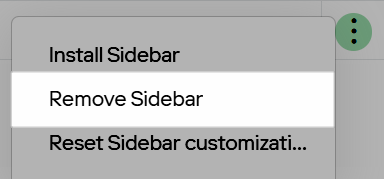
To uninstall RG Email Sidebar:
- In the Users tab of the Admin Panel, open the More actions menu () for the user.
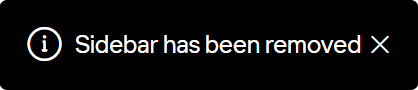
- Select Remove Sidebar.
A confirmation message will appear at the bottom of the page, indicating that the Sidebar was successfully removed.
Reset RG Email Sidebar settings
In some organizations, users can customize their Sidebar settings to better fit their needs and workflows. However, as an admin, you may need to reset a user’s Sidebar to its default state to troubleshoot issues or prepare for configuration changes.
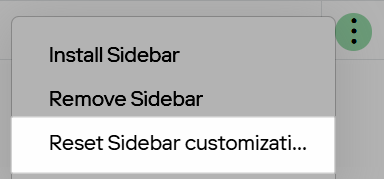
To reset a user’s RG Email Sidebar settings:
- In the Users tab of the Admin Panel, open the More actions menu () for the user.
- Select Reset Sidebar customization.
A confirmation message will appear at the bottom of the page, indicating that the Sidebar settings reset has been initiated.

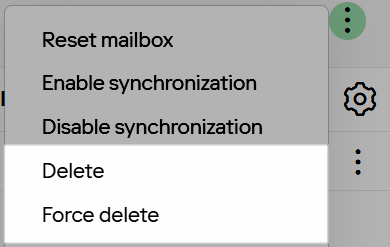
Delete and force delete users
Use these commands to delete users.
-
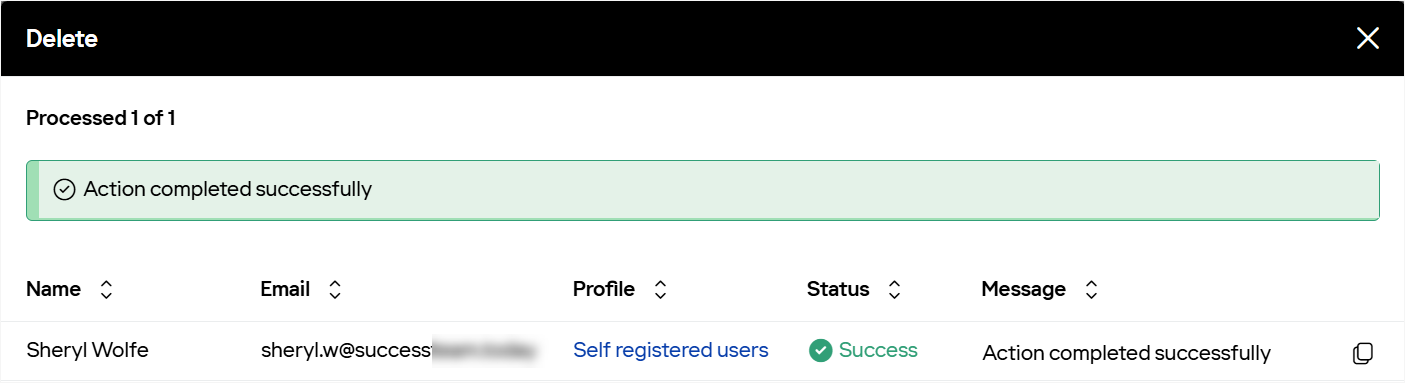
Delete user
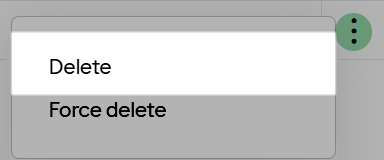
Use Delete to remove a user whose mailbox is not initialized.
- In the Users tab of the Admin Panel, open the More actions menu () for the user.
-
Select Delete.
-
In the confirmation dialog, click Delete.
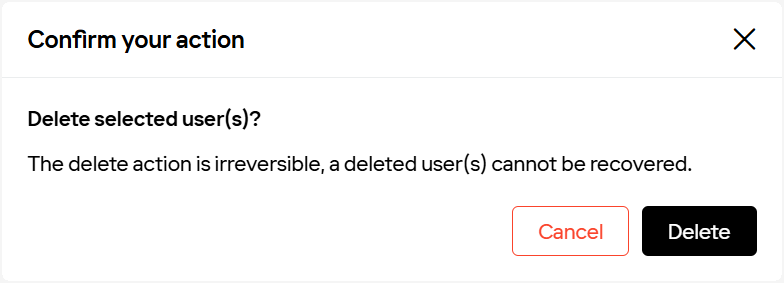
A confirmation dialog will appear, showing the action result and details of the deleted user.
Note
If the user’s mailbox is initialized, an error message will display: “ISA-058: Unable to perform the action. Reset the user’s mailbox customization first or force delete the user instead.” In this case, either reset the user’s mailbox or use Force delete.
-
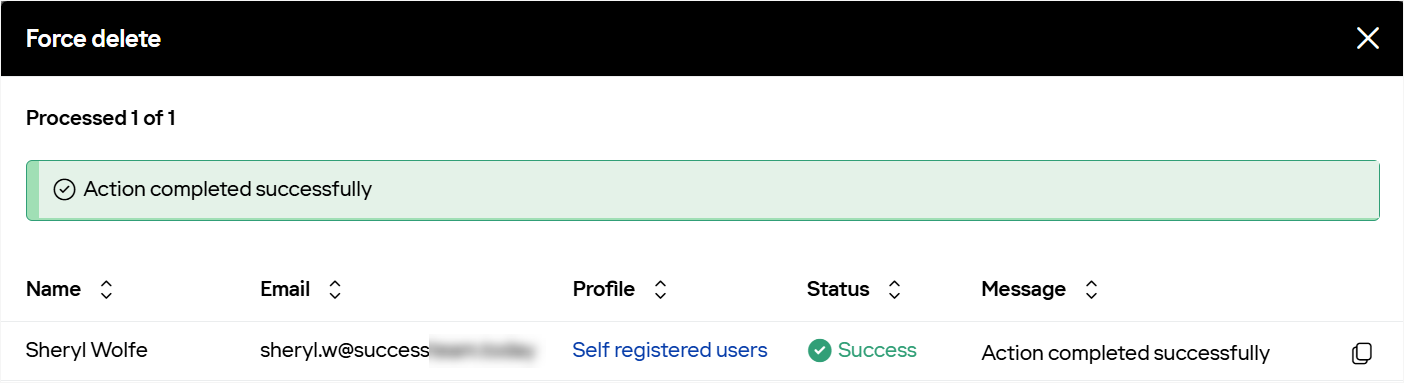
Force delete user
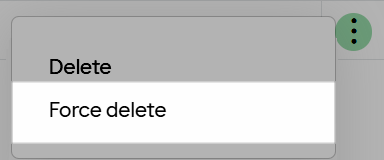
Use Force delete to remove a user whose mailbox is initialized.
- In the Users tab of the Admin Panel, open the More actions menu () for the user.
-
Select Force delete.
-
In the confirmation dialog, click Delete.
A confirmation dialog will appear, showing the action result and details of the deleted user.
-
Mass delete and force delete users
Note
The Delete action only removes users with uninitialized mailboxes. To delete users with initialized mailboxes, either reset their mailboxes first or use Force delete.
To delete or force delete a group of users:
- In the Users tab of the Admin Panel, select the checkbox next to each user in the group.
- In the top-right corner of the page, open the More actions menu ().
-
Select Delete or Force delete.
-
In the confirmation dialog, click Delete.
A confirmation dialog will appear, showing the action result and details of the deleted users.
Moving users to a different profile
Each user is assigned a profile during provisioning. If no profile is specified, users are automatically assigned to the default profile. You can change a user’s profile at any time after provisioning.
Important
Assigning users to a new profile may impact mailbox access. Different profiles can use different mailbox access types or Microsoft Exchange Server impersonation settings, which may affect the RG Email Sidebar’s ability to access the user’s mailbox.
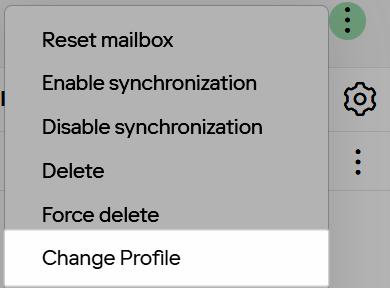
To assign a group of users to a different profile:
- In the Users tab of the Admin Panel, select the checkbox next to each user.
- In the top-right corner, open the More actions menu ().
- Select Change Profile.
- In the dialog that appears, choose the new profile from the menu and click Apply.
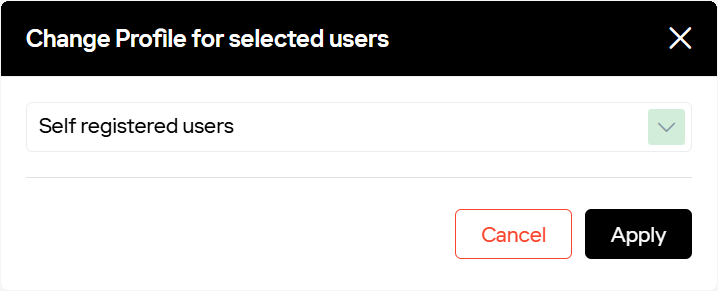
A confirmation dialog will appear, displaying the action result and details for each user.

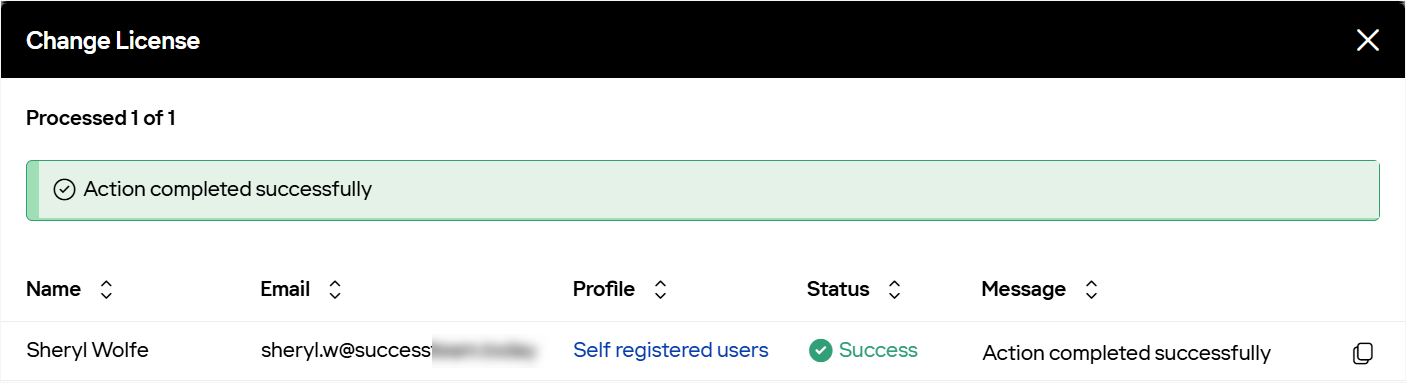
Mass change of user licenses
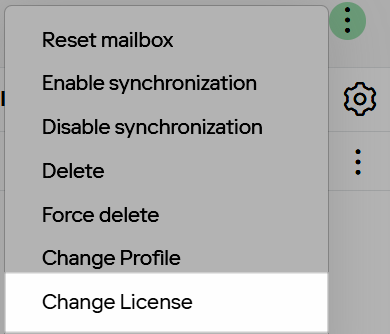
To change the license for multiple users:
- In the Users tab of the Admin Panel, select the checkbox next to each user.
- In the top-right corner, open the More actions menu ().
- Click Change License.
- In the dialog, select the new license from the menu and click Apply.
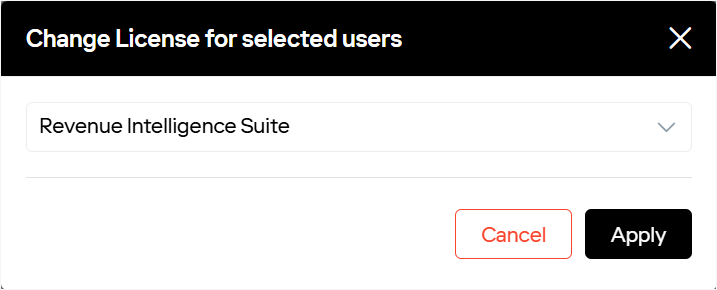
A confirmation dialog will appear, displaying the action result and details for each user.
Configure user settings
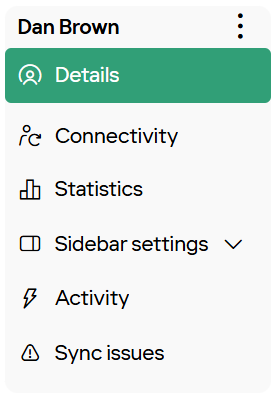
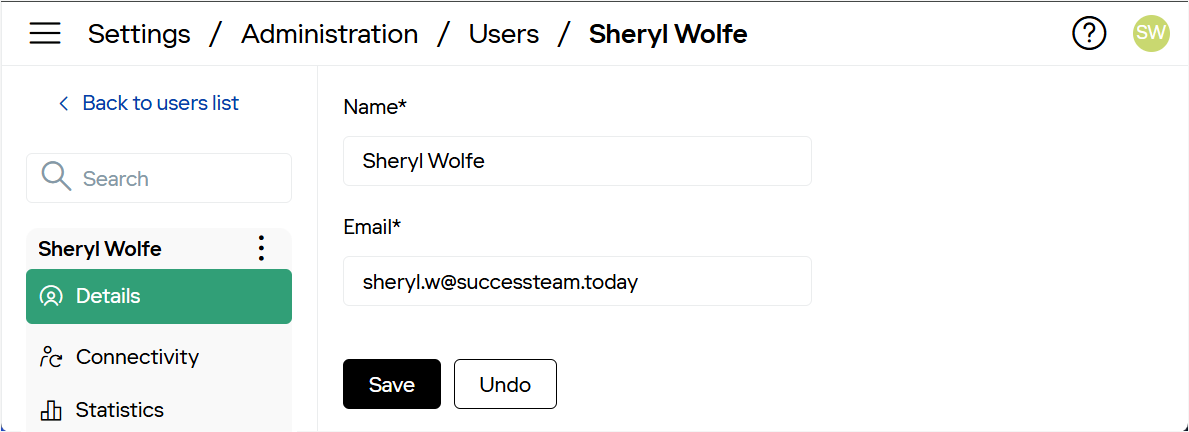
Clicking on a user’s name opens user detailed view, where you can see detailed information about user and configure various settings. The user settings and statistics are organized into the following subtabs:
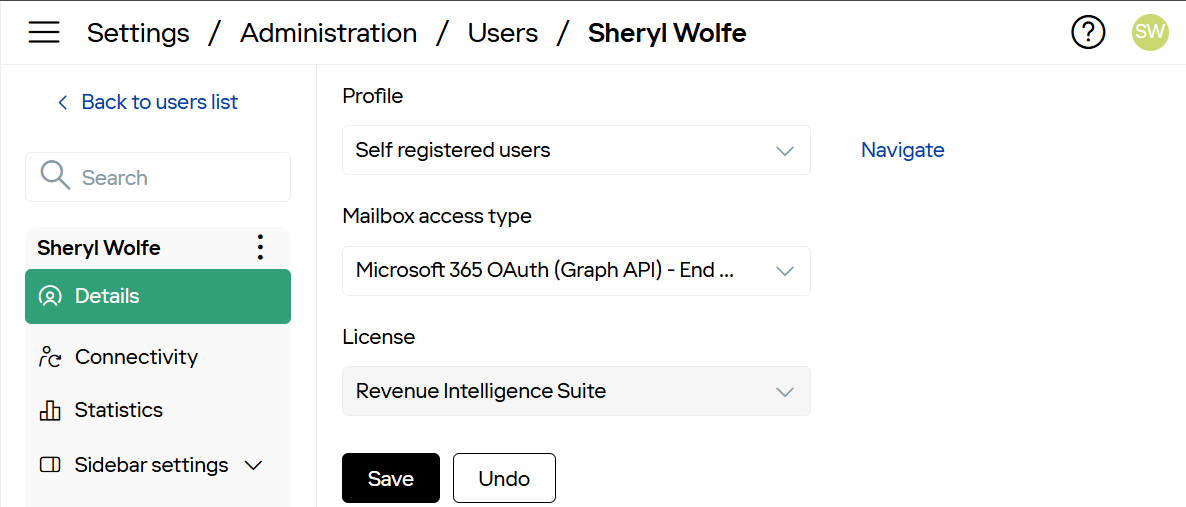
Details
On the Details subtab, you can edit some user’s details such as name and email, profile, mailbox access type, license, etc.
Edit a user’s name and email
To update a user’s name or email:
- Go to the Users tab in the Admin Panel.
- Locate and select the user’s name in the list.
- In the Details subtab, edit the Name and Email fields as needed.
- Click Save at the bottom of the page to apply your changes.
Change a user’s profile, mailbox access type, or license
To change a user’s profile, mailbox access type, or license:
- Go to the Users tab in the Admin Panel.
- Locate and select the user’s name in the list.
- In the Details subtab, select the desired profile, mailbox access type, and license from the corresponding drop-down menus.
- Click Save at the bottom of the page to confirm the changes.
Change a user’s role
As an admin, you can assign a new role to a user.
- Go to the Users tab in the Admin Panel.
- Locate and select the user’s name in the list.
- In the Details subtab, open the Role menu and choose a new role:
- User: Can manage only their own settings.
- Profile admin: Can manage profile settings and users assigned to the profile.
- Platform admin: Can manage all profiles, licenses, and users within a tenant.
- Click Save at the bottom of the page to apply the new role.
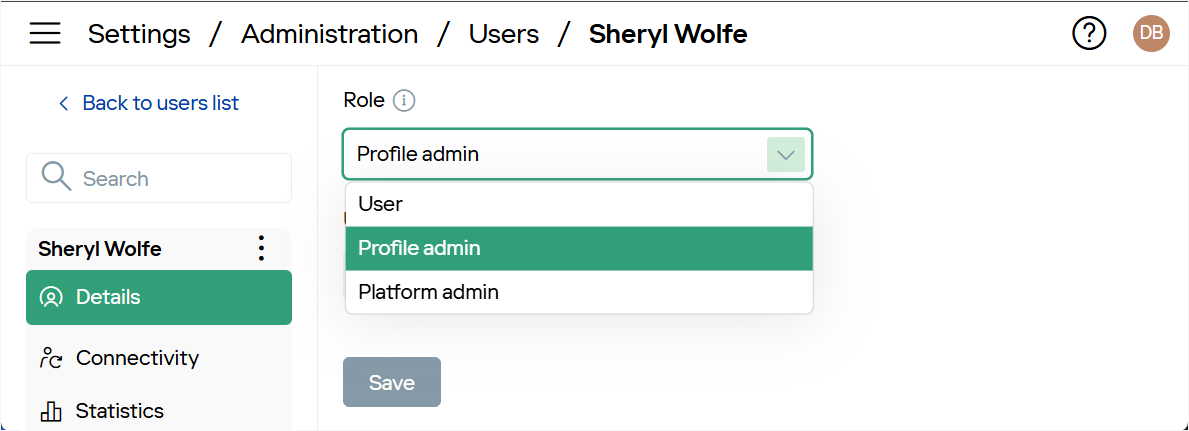
Important
If your organization’s roles are managed by an identity service (such as Azure AD), the role assigned in this field will revert to the role defined by the identity service upon the user’s next login.
View a user’s Sync ID
To find a user’s Sync ID, which is used in specific configuration and API scenarios:
- Go to the Users tab in the Admin Panel.
- Locate and select the user’s name in the list.
- In the Details page, find the User ID field. This alphanumeric value is the user’s Sync ID.
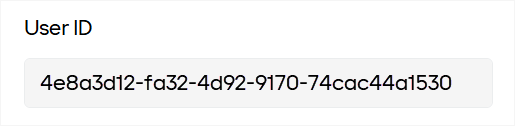
If the User ID field is empty, check the URL in your browser’s address bar. The user’s Sync ID is the alphanumeric value between the segments /users/ and /details.

Monitor a user’s sync and mailbox status
At the bottom of the Details page, you can view the user’s current sync status, effective sync status, mailbox status, and the date and time of the last sync session. This information helps you quickly identify and troubleshoot any sync or mailbox issues affecting the user.
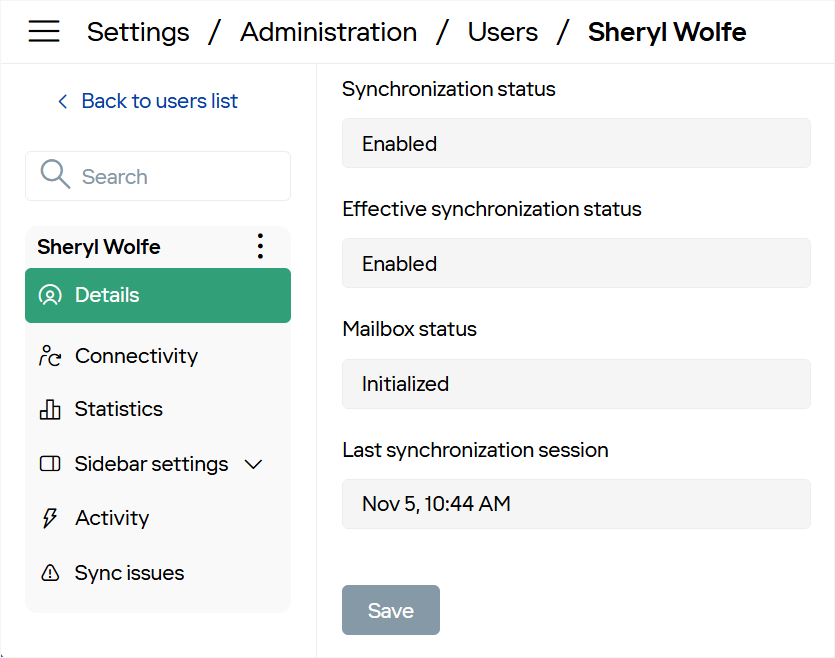
Note
The Effective synchronization status reflects the user’s current sync state, while the Synchronization status shows the overall availability of synchronization for the user’s organization.
Connectivity
The Connectivity subtab displays email and CRM configurations set up for this user.
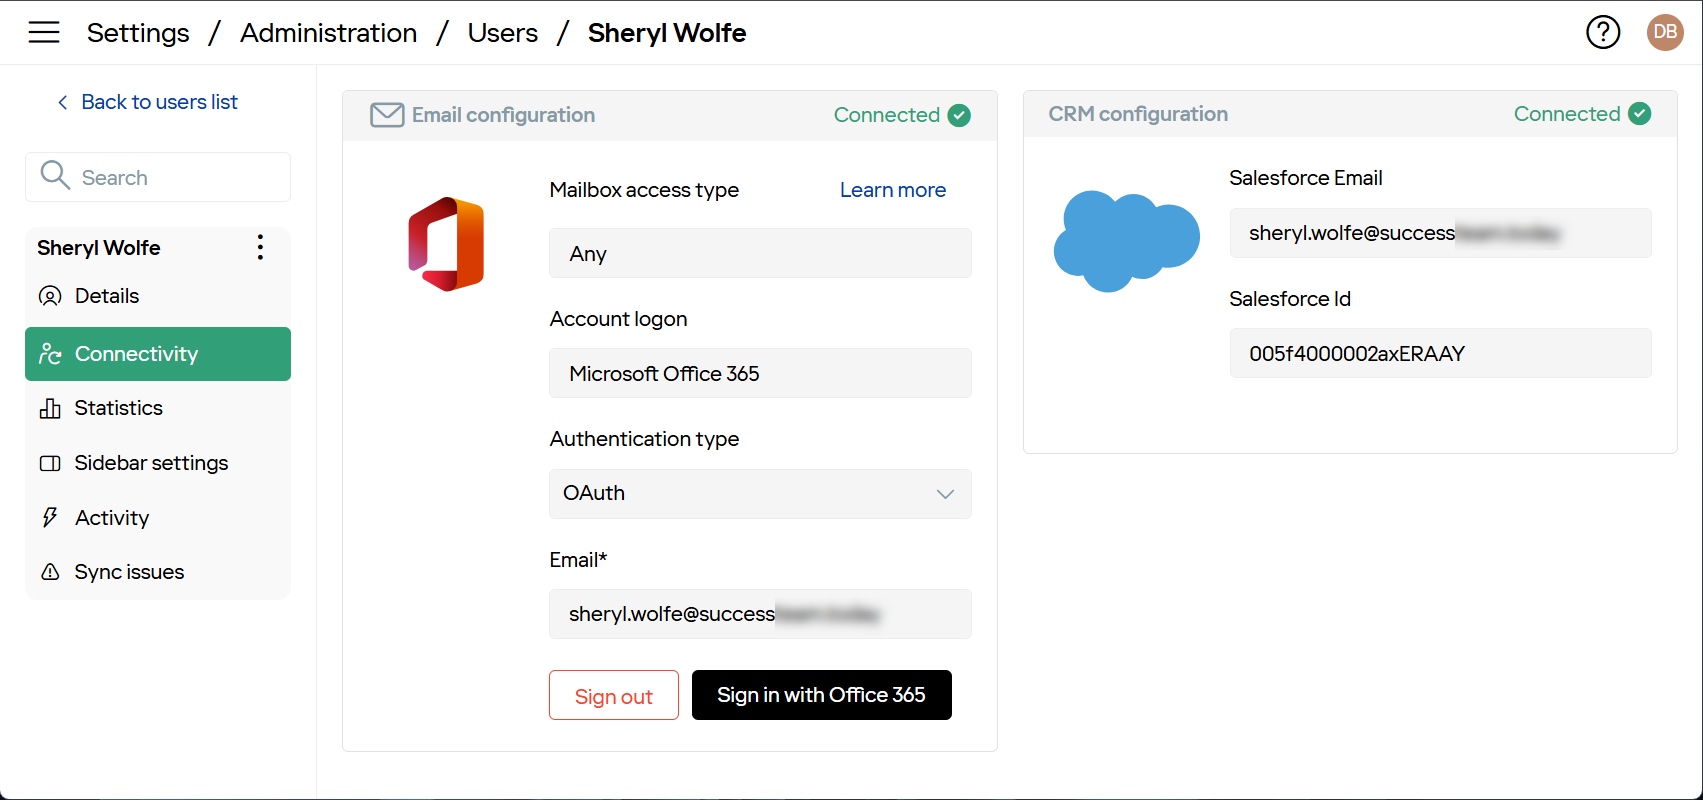
Also here you can manage user’s mailbox access:
- Log in to Revenue Grid using the user’s mailbox credentials
- Update the user’s mailbox credentials
- Log out of the user’s mailbox
Log in with user’s mailbox credentials
Click Sign in to log in using the user’s mailbox credentials if the user is not currently logged in.
This may be necessary to:
- Initialize or re-establish a connection if the user’s session has expired or authentication settings have changed.
- Troubleshoot connectivity issues by logging in with fresh credentials to help diagnose access or permission errors.
- Activate synchronization for users who are new to the system or have recently updated mailbox settings on their provider.
Update user’s mailbox credentials
When a user is already logged in, click Sign in to update their mailbox credentials by re-authenticating with new credentials.
This is useful to:
- Apply recent credential changes, such as updates to the user’s email address or password on the provider’s platform (e.g., Exchange or Microsoft 365).
- Resolve access issues that may arise if a user’s credentials have expired, been reset, or modified, ensuring uninterrupted synchronization.
Log out of the user’s mailbox
Click Sign out to log the user out of their mailbox within Revenue Grid.
This may be necessary to:
- Prevent unauthorized access to a mailbox, especially if a user has left the organization or changed roles.
- Reset authentication settings to prepare for logging in with updated credentials or to troubleshoot by clearing the current session.
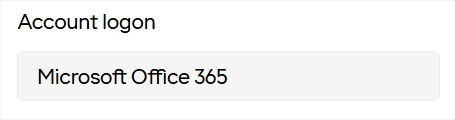
Account logon type options
The available options for managing user mailbox access differ based on the account logon type.
-
Exchange End User Logon
If Exchange End User logon is selected, you can update the following login credentials:
- SMTP email address
- Exchange account name (which may differ from the SMTP email address)
- Password
-
MS Office 365 Logon
If MS Office 365 logon is selected, you can:
- Change the user back to the login/password authentication scheme
- Delete a stored Refresh Token for Ordinary User
Note
You cannot update or access the user’s OAuth2 tokens.
-
Exchange Impersonated Logon
If Exchange Impersonated logon is selected:
- You can update only the SMTP email address, as other parameters are managed in the Profile configuration.
- Microsoft 365 OAuth is also supported in this scenario.
- Users cannot change their SMTP email address to prevent unauthorized access to another user’s mailbox.
Statistics
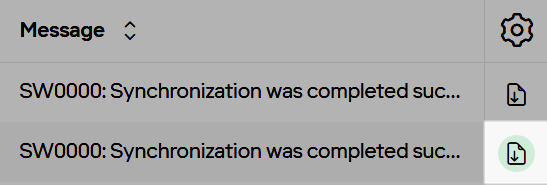
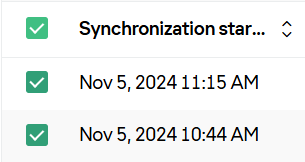
The Statistics subtab displays a list of synchronization sessions for the selected user.
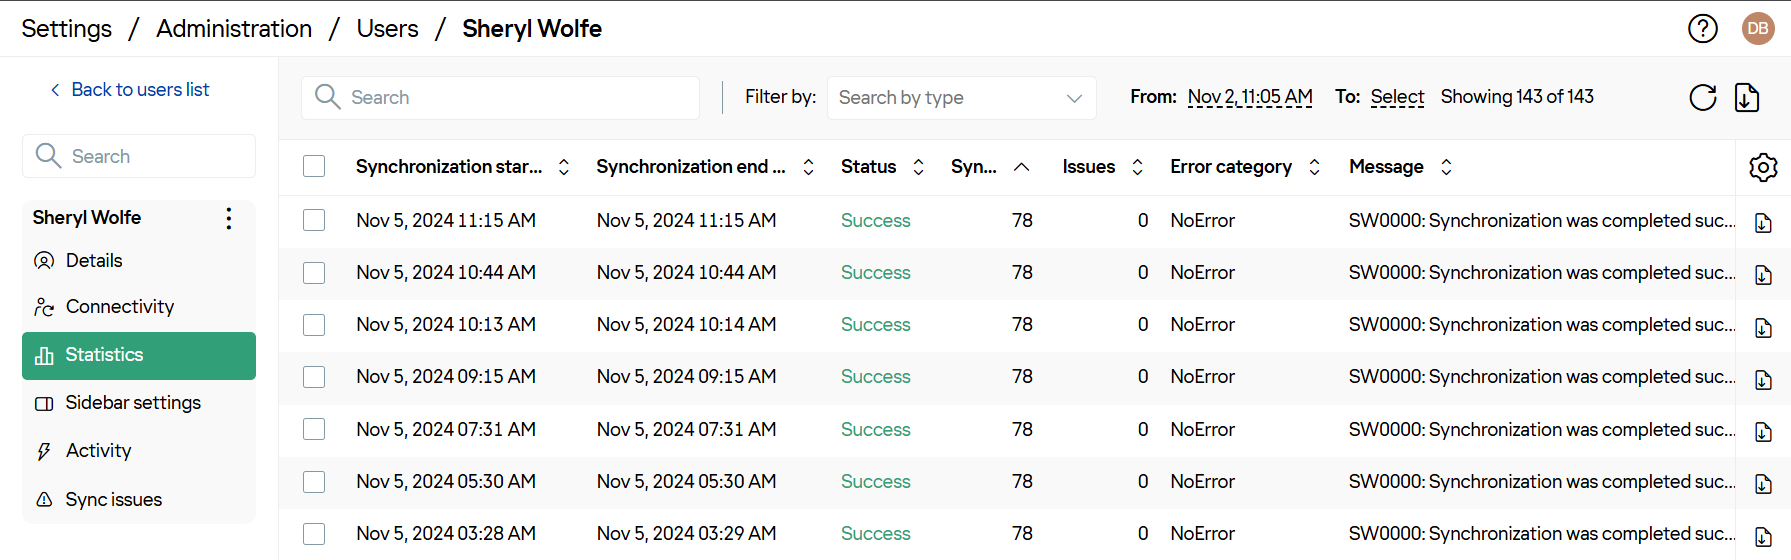
- To download a single session log in ZIP format, click the Download Log icon () in the Actions column.
-
To download logs for a specific period in ZIP format:
- Set the From and To date range on the toolbar. By default, From is three days prior to the current date, and To is set to now.
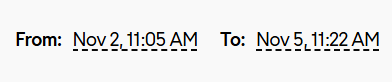
- Select all logs or only the desired logs within that range.
- Click Download in the upper-right corner.

- In the Save dialog, choose where to save the file, then click Save.
-
To export logs for a specific period in CSV format:
- Set the From and To date range on the toolbar. By default, From is three days prior to the current date, and To is set to now.
- Select all logs or only the desired logs within that range.
- Click the Export to CSV icon () in the upper-right corner.
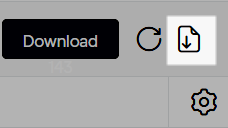
- In the Save dialog, choose where to save the file, then click Save.
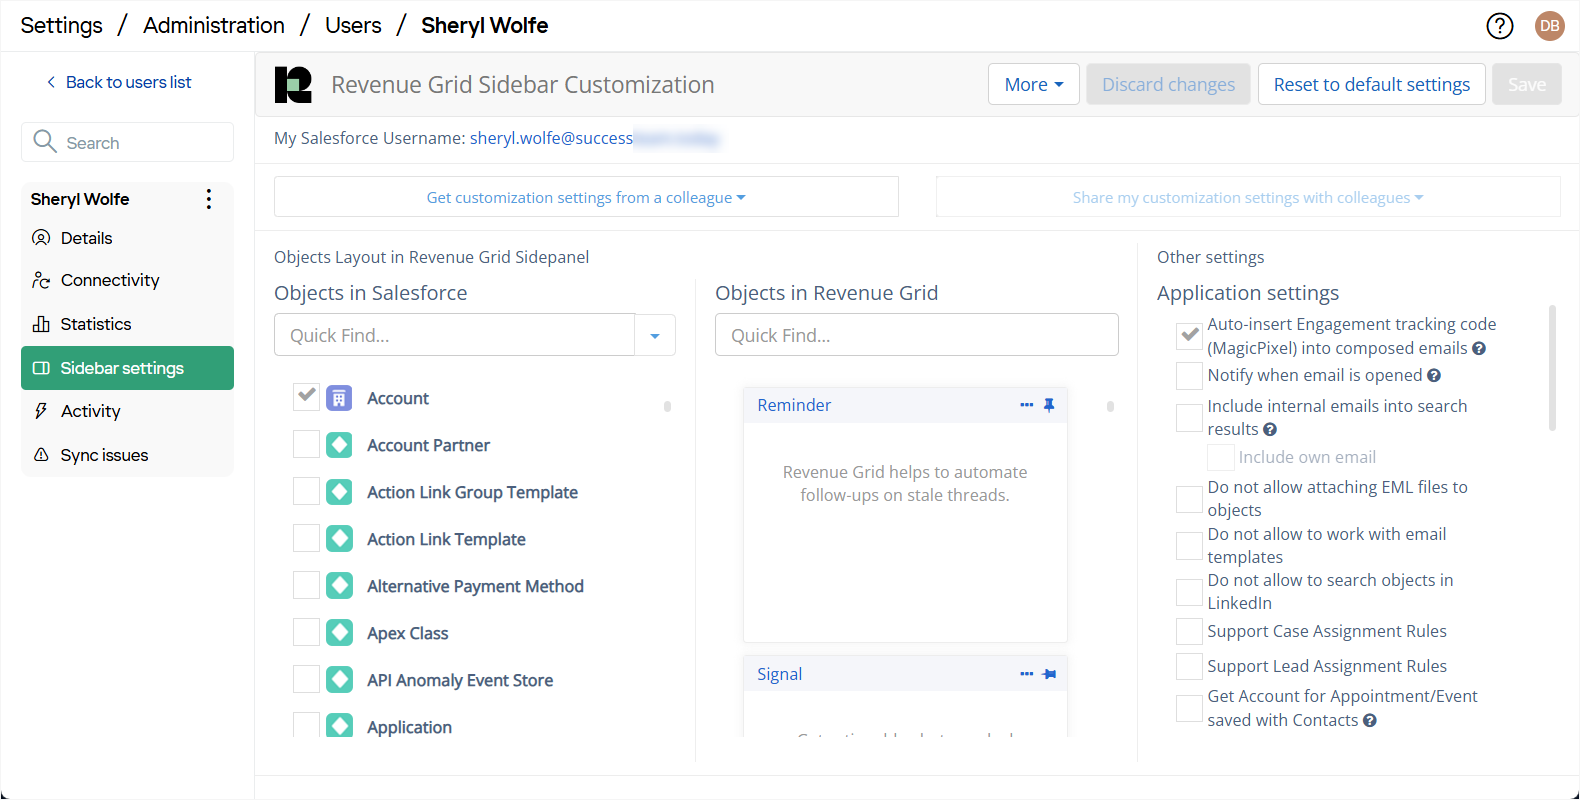
Sidebar settings
The Sidebar settings subtab displays the Sidebar customization settings for the selected user. Learn more about Sidebar customization…
Activity
The Activity subtab displays system activities for the selected user, including details on each activity:
- Date: The date and time when the activity occurred.
- Changed by: The email address of the user who initiated the activity.
- Type: The type of activity.
- Details: A description of the activity. To copy these details, click the Copy icon () in the Details column.
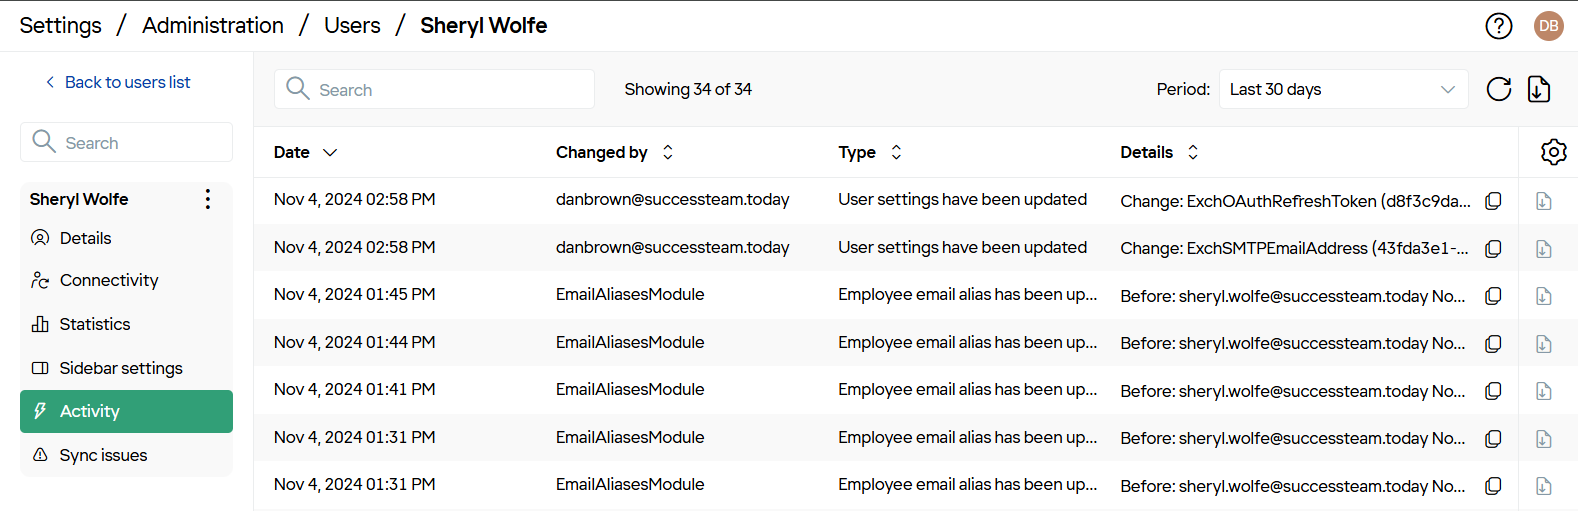
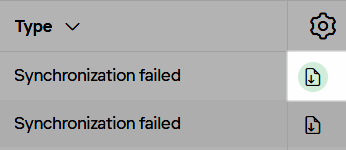
To download an activity log, click the Download icon () in the Actions column.
Examples of activities:
- User is added.
- User is removed.
- User synchronization is disabled.
- User synchronization is disabled due to authorization error.
- User synchronization is disabled due to throttling error.
- User synchronization is disabled due to other error.
- User synchronization is enabled.
- User Customization is reapplied.
- User Profile is changed.
- User Synchronization is disabled, Customization is uninstalled.
- User License assigned event.
Sync issues
The Sync issues subtab displays issues from the latest synchronization session.
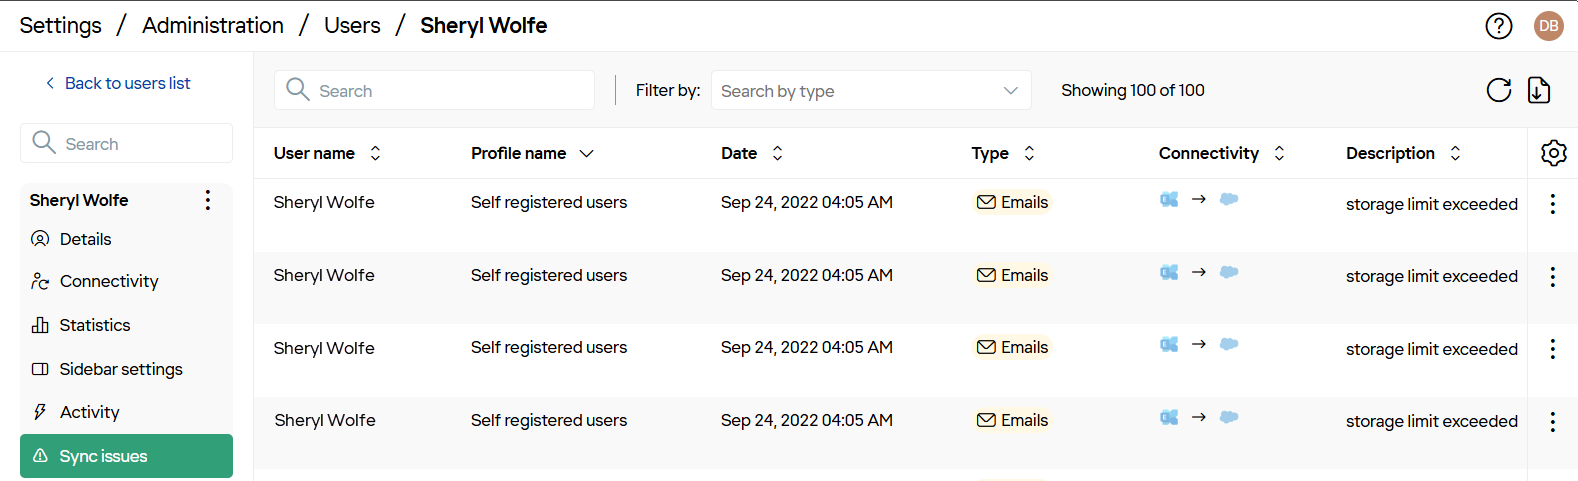
These issues may occur due to modifications during data transfers between the mail server and Salesforce. To learn more about sync issues monitoring, refer to this article.
Define users’ synchronization settings
In addition to the settings described above, you can apply predefined synchronization settings to all users, groups, or individual users within a profile, with options to allow or restrict user adjustments. If you need to configure custom sync settings for different users in your organization, please send a request to our Support team.